Browse Every Blog, post, picture, and video Casey has made.
Creative Mammoth Planter
How to Build a Creative Mammoth Planter
For as long as I can remember, I have alway been known for creating odd combinations.
I feel this is what separates my containers from the rest.
I remember, when I used to work in my parents greenhouse business, being told by my mom that my combinations would be too weird to sell. So that year I made sure to put my name on all the baskets and containers I created. Funny thing is, my creations were all sold out. That’s when my mom realized that there is a style for everyone, and not everyone likes the same things. My goal is to help every gardener learn how to step out of the box every once in awhile, and create a more “weird” planter. When I say weird, that means a one of a kind that you won’t see sitting next door on your neighbors porch. I mean the kind of planter that creates a conversation amongst you and someone you may not have converted with before. What I am about to show you, is a style of planter that will bring gardeners from around your area, to gawk and be amazed! Are you ready to be the talk on your block? Then follow this idea and tutorial, and that’s what you’ll be!
Want to see more of my video lessons? Then Feel Free to SUBSCRIBE HERE, to the Youtube channel!
Don’t miss out on the next article/video, SUBSCRIBE HERE!
Little Cookie Monsters, Episode 4
Little Cookie Monsters, Episode 4
Photographed. Filmed. Created by:

Casey Lynn Lawrence, Reality for family and kids. Casey and her kiddos baking cookies.
Turkeys Tractors Tag Oh My, Episode 5
Turkeys Tractors Tag Oh My, Episode 5
Photographed. Filmed. Created by:

Casey Lynn Lawrence, Reality for family and kids. Join Casey and her Kiddos on an outdoor adventure!
How to Grow Peas, Raised Bed Gardening
How to Grow Peas, Raised Bed Gardening
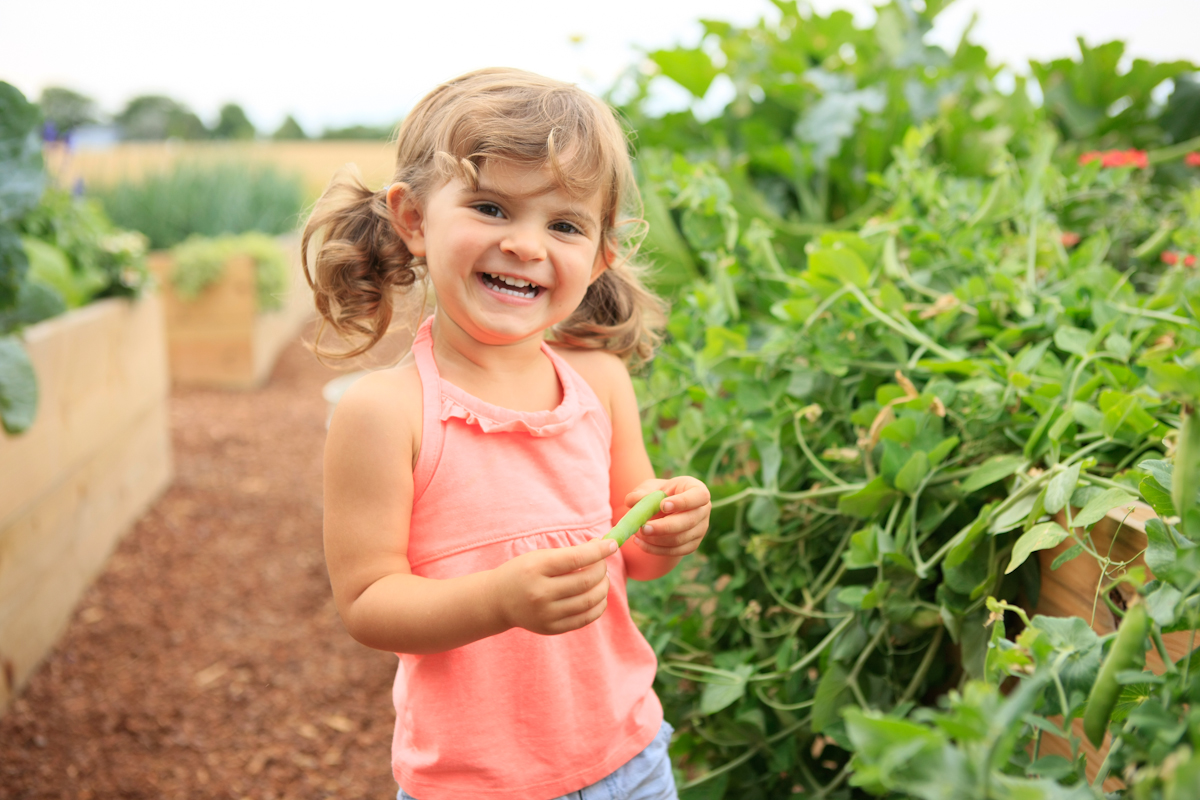
Every year peas are the #1 thing I put on my list to have in the garden again. Not only do I love them, but my little ones love them too! I always grow them in the closest raised bed to their outdoor play area. That way, anytime they want a snack, they can easily grab one there. I switch up the location of my vegetable varieties every year, that is called crop rotation. I do this so, from season to season, you aren’t carrying over any diseases or pests. In the video below, I show you how I seed peas in a Raised Bed Garden.
 When you go to garden centers in the spring, they always have pea plants for sale. Keep in mind that one pea plant isn’t going to provide a large amount of peas. That’s why you are better off seeding pea plants. That way, in raised bed gardening, you can cluster them, like I show in the video lesson below. You can seed pea plants as early as the beginning of april. They love cool temperatures! You only have up until the beginning of June to get one last show at seeding peas, otherwise it gets too hot for peas to survive the hot summers. If you didn’t get them in in time, then know this, you can seed them again in early August to harvest a late Fall batch. Just be sure to switch up the location from the spring peas so you don’t end up with any diseases or pests that may have carried over from the Spring peas. If we are having a very hot August, (who knows until that time, since in Wisconsin, weather is so bipolar), be sure to provide some source of shade above those early seedlings. If you don’t, the seedlings will become too stressed and it will effect them and their pea production in the later stages of growth.
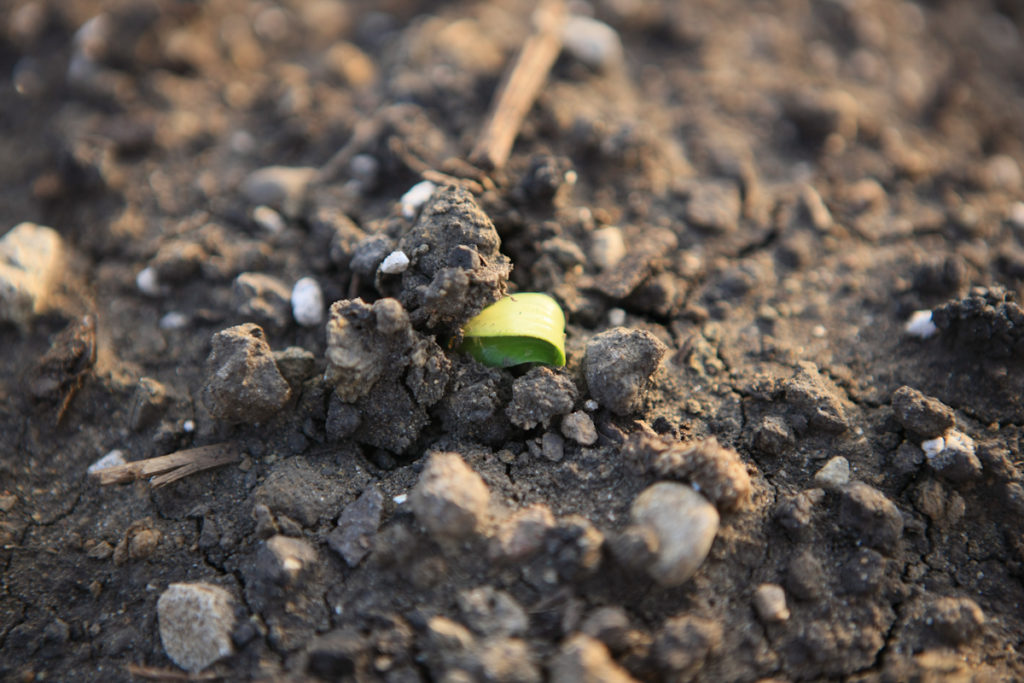
Since peas are one of the first varieties sowed, you are the most excited when they finally start popping up out of the ground. You’ll find yourself admiring them and taking pictures, like me. By the time everything else catches up, you already have a garden workload, and it becomes less significant, even though it shouldn’t. It just does, that’s life. I am seeding 2 varieties of Peas this year. First one is, ‘Little Marvel’. This variety is considered the dwarf of the pea family. It doesn’t need a trellis, and even if it did, I don’t use them. I just let them trail over the sides of the Raised bed and it is beautiful. They can get up to 6 large peas per pod, and a really sweet when picked young. The second variety I seeded is, ‘Frosty’. I chose this variety, because it is one of the best varieties of Peas for freezing. I blend lots of frozen peas into smoothies. They are easy to hide, haha. These Peas are larger in size and can have up to 8 peas per pod and are sweet. Best part, they are disease resistant, and this variety also does not need a trellis.
Due to the smaller amount of space in raised beds, smaller varieties work out great. Peas grow at a fast pace. Within 45-60 days from seeding, they are already producing! Peas do not like a lot of fertilizer, so be sure to use something natural. Peas can easily be burned off, which means, that they will die from being over fertilized. My all natural fertilizer of choice, are worm castings. I mix worm casting through out my soil to begin with. Then, every month, I poke holes on the surface of the soil that are 6″ deep. (You can use a thin drill bit.) Then I spread out the worm castings and brush them over those holes so they fill in. As the season goes on, I will continue to update this article, and show you exactly how to do that in a video lesson. Want to know why I choose worm castings? Then you would be interested in the article, 7 Benefits of Using Worm Castings.
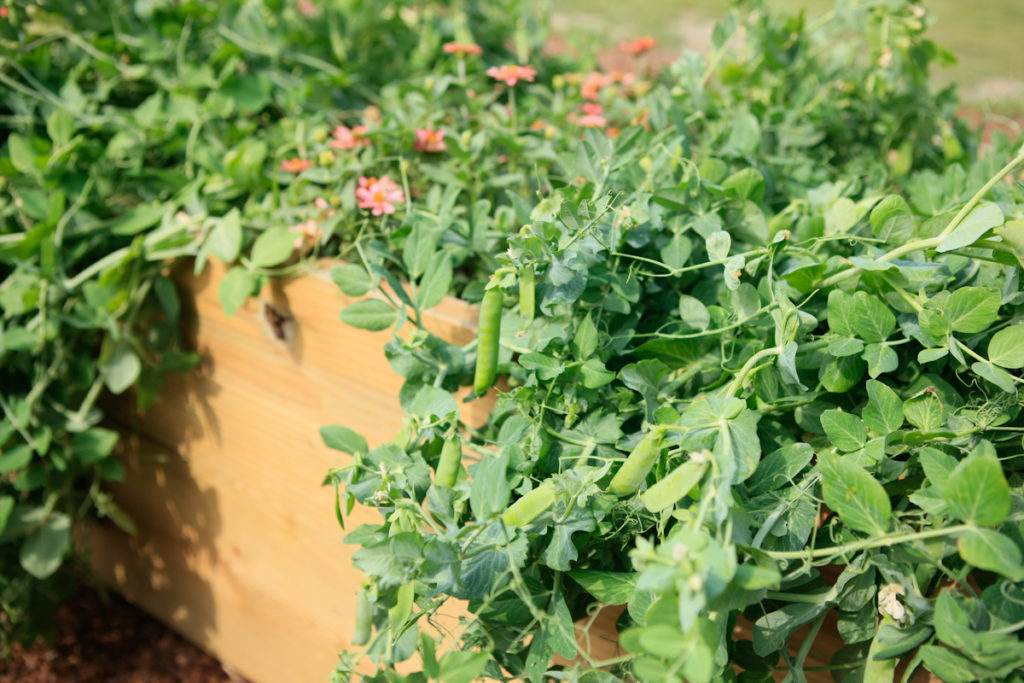
I only water Peas when they are dry. They don’t like to be sitting in a lot of water, so overwatering them can be a killer for these guys. If you are unsure, stick your finger in the soil and feel for moisture. When you take your finger out, if you feel no moisture at all, then water them. Remember, that as the days get hotter, the pea plants may give off the appearance of being dry, but a lot of times that is just because they are struggling with the heat. So always be sure to do the finger check.
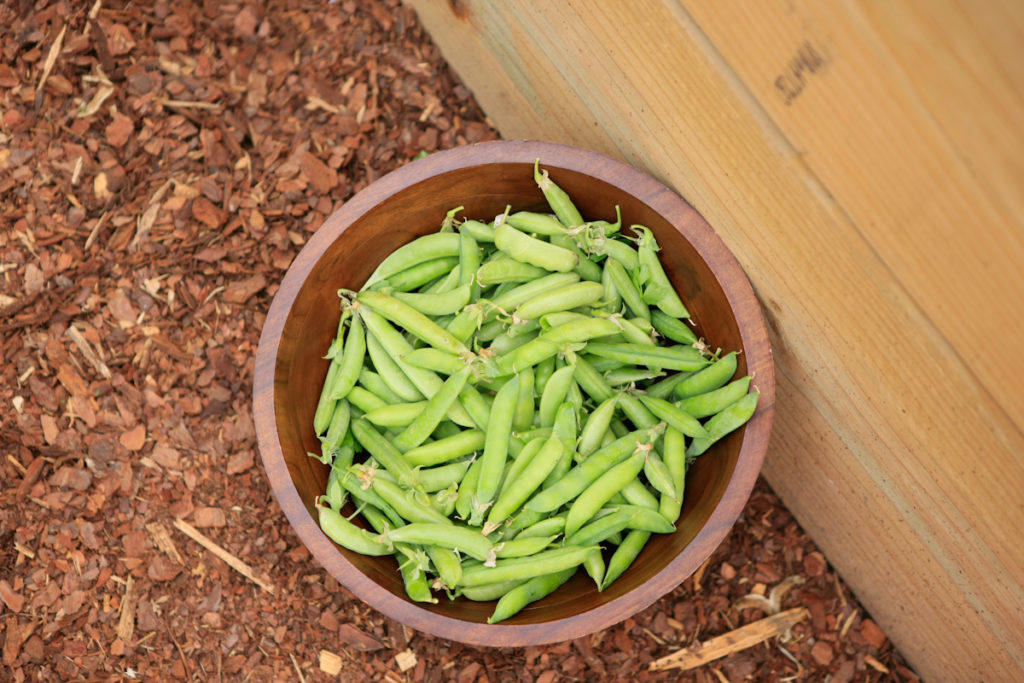
To keep my gardens interesting, in between the varieties, I break them up with some flowering annuals. Last year I used Zinnia. Even though they gave pretty color, I didn’t love them. So I can’t wait to update this article as the season goes on, to show you what I decided to plant in between the varieties this year!
Harvest Time!
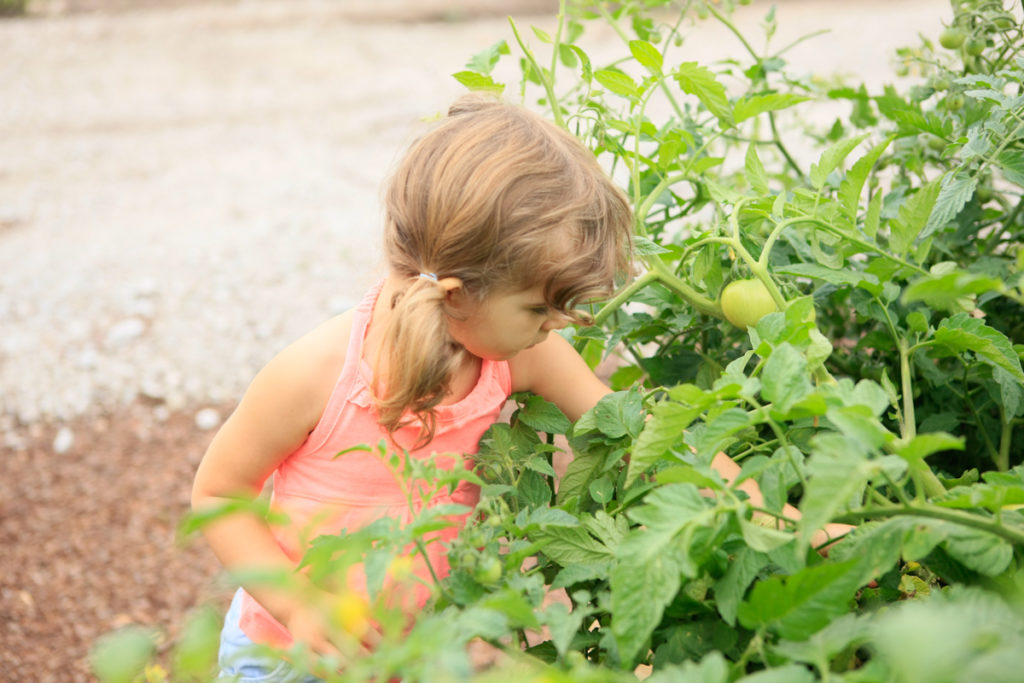 Once it is time to harvest peas, you’ll know! They get a great rounded shape along the entire shell and you can feel the peas, ready to burst out. You know you’re too late when the skin of the pea shell has the appearance of wrinkles and a bit of a rough texture. Those peas will end up tastings dry and bitter. When you leave peas unpicked, your pea plants pretty much throw in the towel for the season. Not that if you continue to pick them, they continue to produce. Just that, they will produce peas for every flower that is on the plant. If left unpicked, those pea flowers won’t do anything. The plant is giving too much energy to those unpicked peas and it can no longer go on. If you have little kiddos, like me, they don’t let anything go to waste! There are so many nights in summer where we literally eat dinner right out of the garden! Once you have harvested your peas, be sure to eat them or freeze them within a 24 hour period, otherwise they lose their sweetness and firm texture. Now that you enjoyed your peas, pull your pea plants out of your garden! Don’t keep them sitting there. This is like leaving out a free invitation to aphids. That’s a problem that you don’t want to have, because those buggers are hard to get rid of!
2017 Pea Log
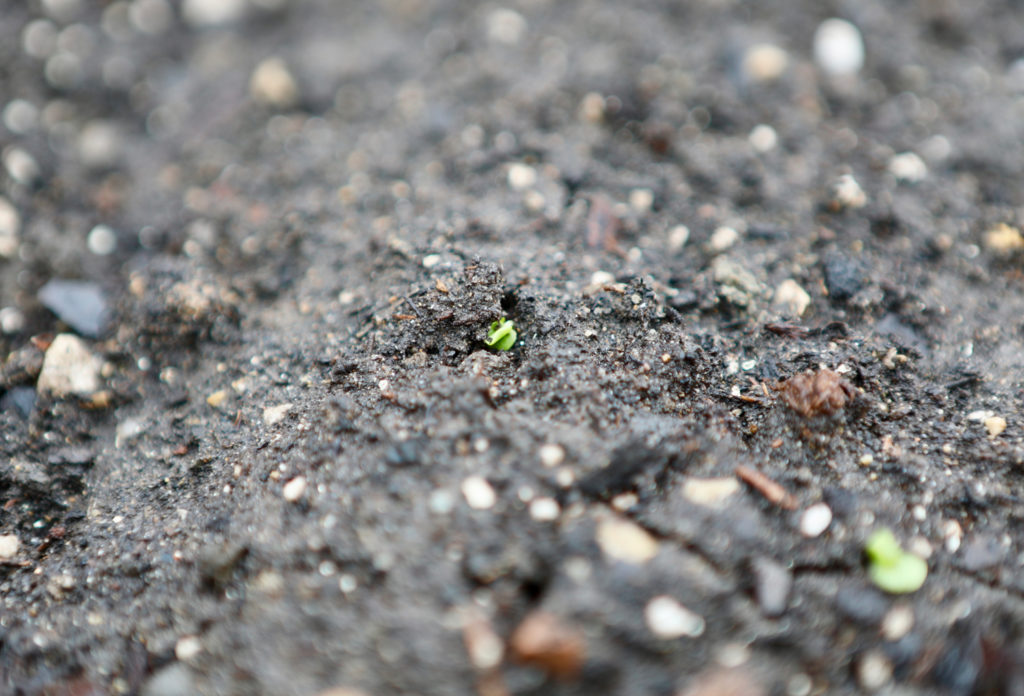
5 Days after seeding.
Thank you for reading this Article. I will continue to update this Article as the season goes on.
Raised Bed Gardening, ‘The Soil’
Raised Bed Gardening,
‘The Soil’
As many of you know, I am no stranger to gardening. I have been in fields planting, hoeing, picking and selling at markets throughout my childhood years. The typical farm life.
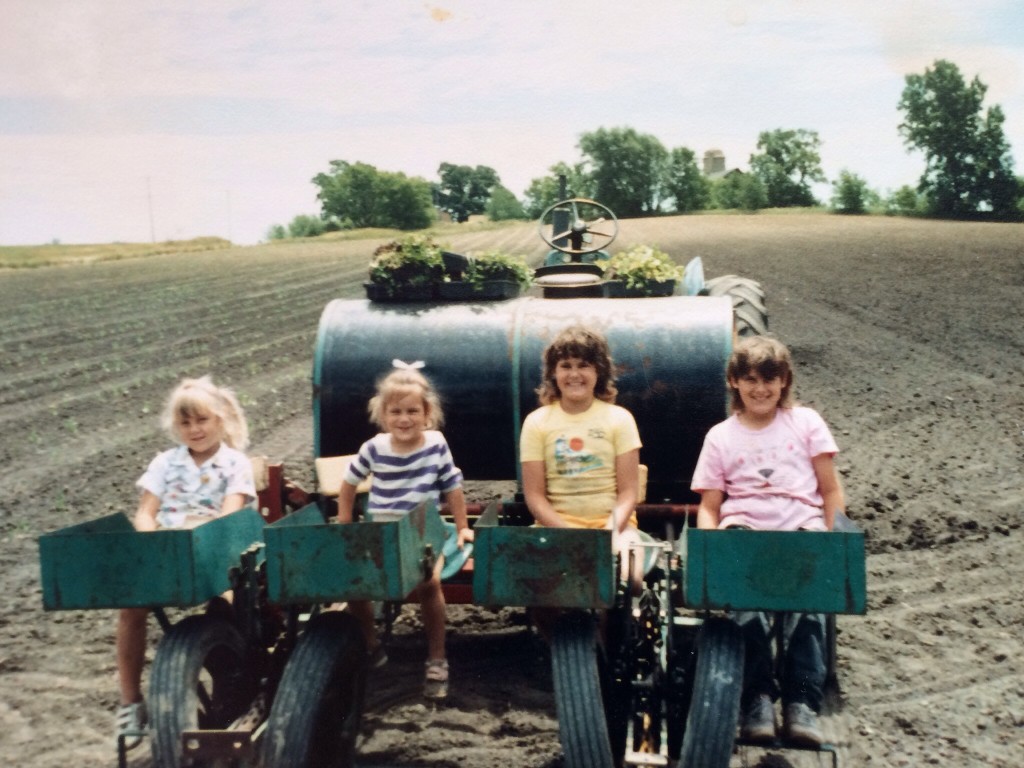
Planting Tomatoes on the planter. I’m the second one in on the left.
My late teens and early 20’s, I didn’t have a huge interest in vegetable gardening. That was the age where all I wanted to do was hang out with friends and go out. Taking care of a garden was long gone out of my mind. When I was 23, I met my other half. Thats when my entire mindset changed. When my husband, Jason and I got married that next year, I now had my own yard. No longer did I have Dad’s big garden to go raid. He would seed, plant, maintain and harvest. I knew that if I wanted that same fresh eating, I had to get back in the game and grow my own food.
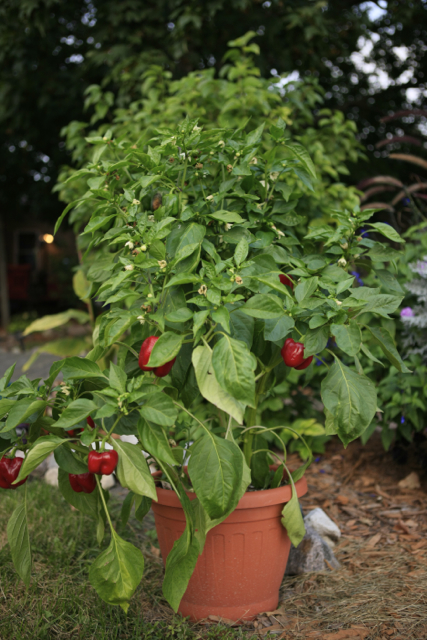
One of my Pepper Containers, 2012
The first year, I started growing all of my food in pots, because at this time, my husband and I were living on a very small city lot. Once we moved out to some acreage, then I had a pretty large ground bed. While having a ground bed garden for a few years and working it hard, I already started thinking about raised beds.
I did a lot of research on raised bed gardening. Everything I read made it seem almost difficult. So I decided to throw all of the rules out of the playbook, and just go for it!
Once we built our forever home, I had already had our Forever Property designed, and in that design lives, what we call today, ‘The Garden Oasis’. So I did it, I went for it! I had raised beds built and I was on my way to exploring a whole new way of gardening.
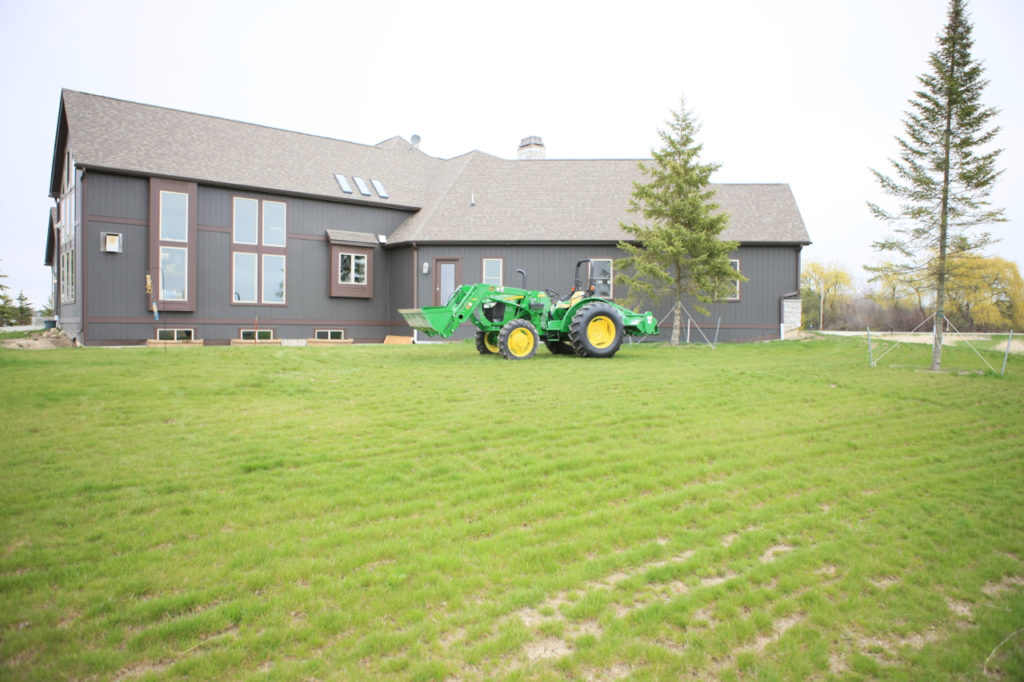
Before
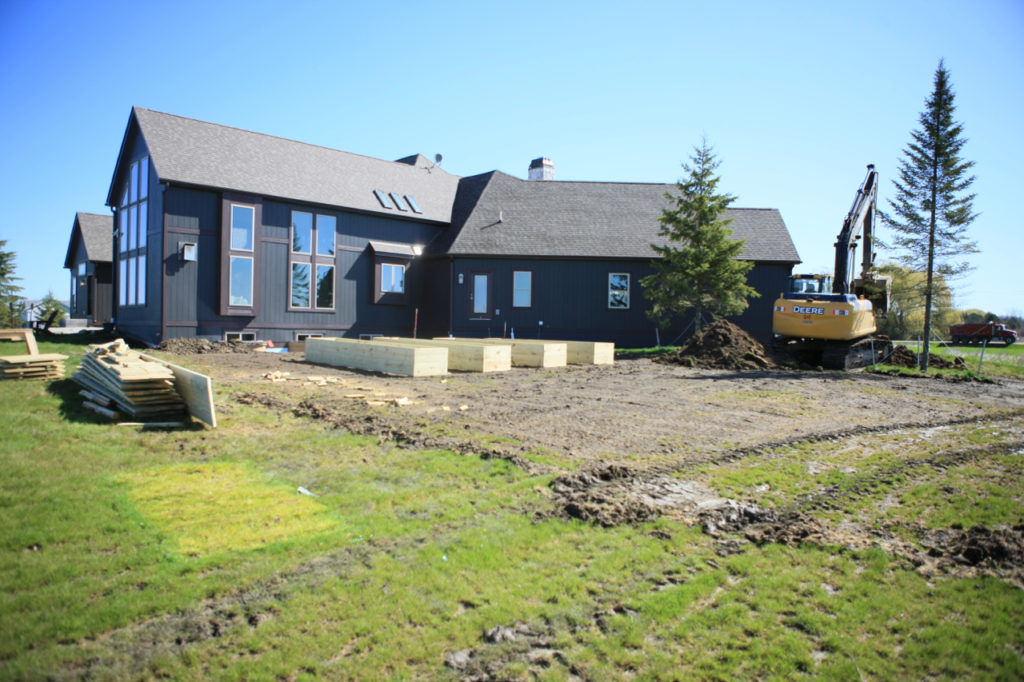
During Construction of the ‘Garden Oasis’

Raised Beds Complete & Full Force
Having horticulture in my background, from growing up in a family greenhouse business, I knew that success for gardening always starts with the soil. In raised bed gardening, I knew that-that was going to be more important than ever. Especially after the first year, once the soil is most likely depleted of nutrients from the growing season the year before.
Since my raised beds are 2′ high (Raised Bed Dimensions: 3’Wx2’Hx14’L), I knew that I just couldn’t fill it all up with top soil. I know that there had to be layers in order to be successful for years to come. So the first year I filled up the boxes with 3 layers. Each layer had 3 ingredients, top soil, potting soil and worm castings. If you’d like to learn why I chose worm castings, feel free to click and read my article: 7 Benefits of Using Worm Castings.
I mixed those 3 ingredients together, tilled it in, and then added another layer. I did this step 3 times over. (65%Top Soil, 25% Potting Soil, 10% Worm Castings.) This took a large load of soil, and a lot of back work, but luckily, my husband helped me out. When we are together, we can accomplish anything! My first year, Raised Bed Gardening, was such a success!!! I knew that if I wanted that same success the second year, I’d have to make sure my soil was a winning mixture again. By doing that, I knew I’d have to do just a little bit of extra work, but boy will it be worth it!
Below I have a Video Lesson on How I create a Winning Soil the Second Year in my Raised Beds. Follow these steps, and you will be a Gardening Champion!
Raised Bed Gardening, ‘How to Create a Winning Soil’
Why should you take my advice? Click Here and See Vegetable Gardening Like You have never seen before!
Below is another Link to a Picture Article of my Raised beds in early September Last Season, still going strong!
Click Here and Take a look at my Raised Beds at the end of the Season!
Thank you for visiting the Site! If You liked this lesson, please feel free to click and SUBSCRIBE HERE
Want to see what’s going on in the Garden Oasis Daily? Then feel free to click here, and Visit Me On Facebook
Want more video lessons? You can find all of my video lessons in one place! Click Here to be Connected to my Gardening and Home Channel!
How to Maintain and Water a Big Hanging Basket/Container
How to Maintain and Water a Big Hanging Basket/Container
Every year, we are all guilty of going to garden centers and falling in love with all of the beautiful big baskets. There is always that one that stands out, and that ends up in the back of our vehicle, and makes it’s way home with us. Once we get it home, it looks so beautiful, bushy, perfectly shaped and not a dead flower on it. Did you know that as soon as you get it home you should already be doing a step towards maintaining it? You didn’t? Well, let me show you, in this video below, what you need to do in order to keep that basket looking beautiful, bushy and round all season long.
Watch the Video Below to Learn How to Maintain a Big Basket and Planter
Watch the Video Below to Learn How to Water a Basket and Planter Correctly
If you like this lesson and want more like it, then feel free to
