


How to Grow Peas, Raised Bed Gardening

Every year peas are the #1 thing I put on my list to have in the garden again. Not only do I love them, but my little ones love them too! I always grow them in the closest raised bed to their outdoor play area. That way, anytime they want a snack, they can easily grab one there. I switch up the location of my vegetable varieties every year, that is called crop rotation. I do this so, from season to season, you aren’t carrying over any diseases or pests. In the video below, I show you how I seed peas in a Raised Bed Garden.
 When you go to garden centers in the spring, they always have pea plants for sale. Keep in mind that one pea plant isn’t going to provide a large amount of peas. That’s why you are better off seeding pea plants. That way, in raised bed gardening, you can cluster them, like I show in the video lesson below. You can seed pea plants as early as the beginning of april. They love cool temperatures! You only have up until the beginning of June to get one last show at seeding peas, otherwise it gets too hot for peas to survive the hot summers. If you didn’t get them in in time, then know this, you can seed them again in early August to harvest a late Fall batch. Just be sure to switch up the location from the spring peas so you don’t end up with any diseases or pests that may have carried over from the Spring peas. If we are having a very hot August, (who knows until that time, since in Wisconsin, weather is so bipolar), be sure to provide some source of shade above those early seedlings. If you don’t, the seedlings will become too stressed and it will effect them and their pea production in the later stages of growth.
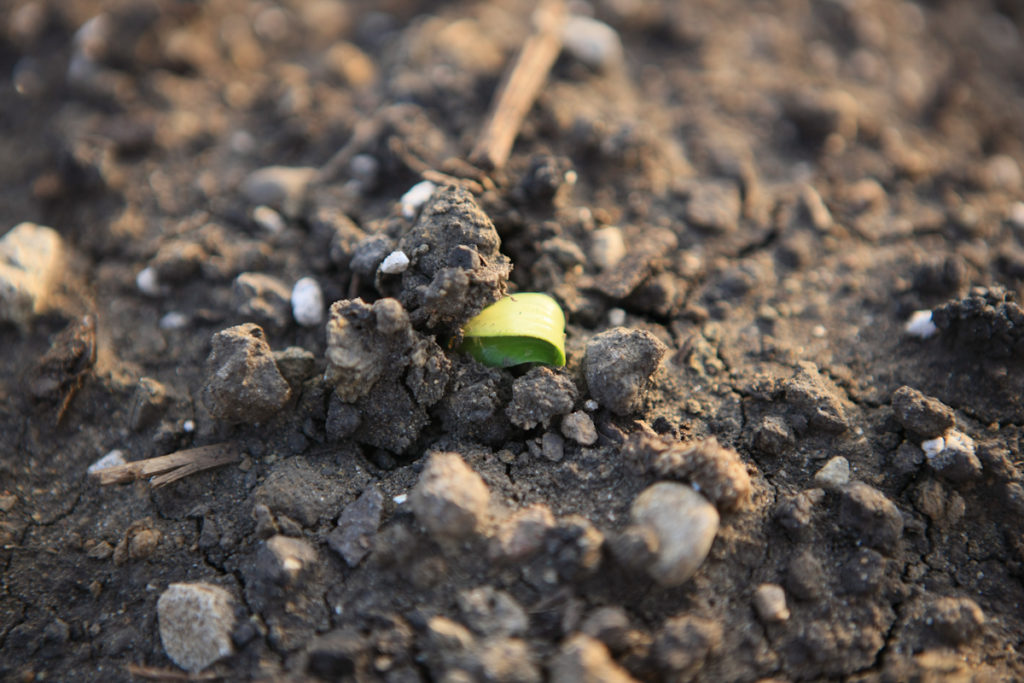
Since peas are one of the first varieties sowed, you are the most excited when they finally start popping up out of the ground. You’ll find yourself admiring them and taking pictures, like me. By the time everything else catches up, you already have a garden workload, and it becomes less significant, even though it shouldn’t. It just does, that’s life. I am seeding 2 varieties of Peas this year. First one is, ‘Little Marvel’. This variety is considered the dwarf of the pea family. It doesn’t need a trellis, and even if it did, I don’t use them. I just let them trail over the sides of the Raised bed and it is beautiful. They can get up to 6 large peas per pod, and a really sweet when picked young. The second variety I seeded is, ‘Frosty’. I chose this variety, because it is one of the best varieties of Peas for freezing. I blend lots of frozen peas into smoothies. They are easy to hide, haha. These Peas are larger in size and can have up to 8 peas per pod and are sweet. Best part, they are disease resistant, and this variety also does not need a trellis.
Due to the smaller amount of space in raised beds, smaller varieties work out great. Peas grow at a fast pace. Within 45-60 days from seeding, they are already producing! Peas do not like a lot of fertilizer, so be sure to use something natural. Peas can easily be burned off, which means, that they will die from being over fertilized. My all natural fertilizer of choice, are worm castings. I mix worm casting through out my soil to begin with. Then, every month, I poke holes on the surface of the soil that are 6″ deep. (You can use a thin drill bit.) Then I spread out the worm castings and brush them over those holes so they fill in. As the season goes on, I will continue to update this article, and show you exactly how to do that in a video lesson. Want to know why I choose worm castings? Then you would be interested in the article, 7 Benefits of Using Worm Castings.

I only water Peas when they are dry. They don’t like to be sitting in a lot of water, so overwatering them can be a killer for these guys. If you are unsure, stick your finger in the soil and feel for moisture. When you take your finger out, if you feel no moisture at all, then water them. Remember, that as the days get hotter, the pea plants may give off the appearance of being dry, but a lot of times that is just because they are struggling with the heat. So always be sure to do the finger check.

To keep my gardens interesting, in between the varieties, I break them up with some flowering annuals. Last year I used Zinnia. Even though they gave pretty color, I didn’t love them. So I can’t wait to update this article as the season goes on, to show you what I decided to plant in between the varieties this year!
Harvest Time!
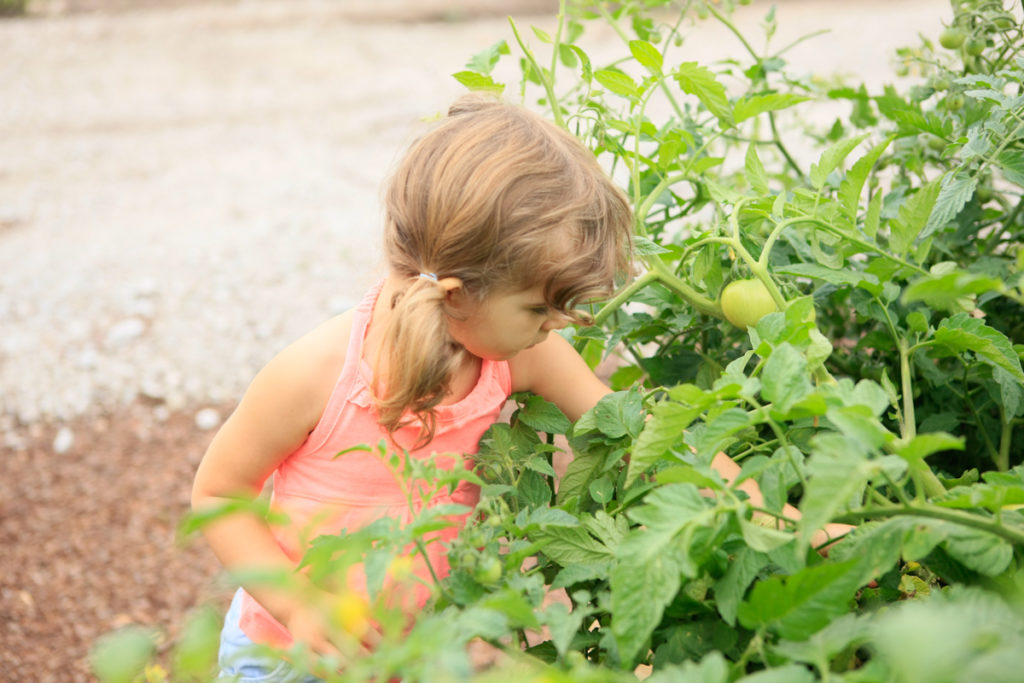 Once it is time to harvest peas, you’ll know! They get a great rounded shape along the entire shell and you can feel the peas, ready to burst out. You know you’re too late when the skin of the pea shell has the appearance of wrinkles and a bit of a rough texture. Those peas will end up tastings dry and bitter. When you leave peas unpicked, your pea plants pretty much throw in the towel for the season. Not that if you continue to pick them, they continue to produce. Just that, they will produce peas for every flower that is on the plant. If left unpicked, those pea flowers won’t do anything. The plant is giving too much energy to those unpicked peas and it can no longer go on. If you have little kiddos, like me, they don’t let anything go to waste! There are so many nights in summer where we literally eat dinner right out of the garden! Once you have harvested your peas, be sure to eat them or freeze them within a 24 hour period, otherwise they lose their sweetness and firm texture. Now that you enjoyed your peas, pull your pea plants out of your garden! Don’t keep them sitting there. This is like leaving out a free invitation to aphids. That’s a problem that you don’t want to have, because those buggers are hard to get rid of!
2017 Pea Log

5 Days after seeding.
Thank you for reading this Article. I will continue to update this Article as the season goes on.