

The Unforgettable Window Box, Every Year
Every Year, I have a successful window box. I never do the same combination either. I always like to switch it up with different flowering varieties and colors. You may be a person who is very successful with your window boxes, but remember, you can always learn more. You may even learn a tip that may take your successful window boxes to a whole new success!
If you are a person who isn’t very successful with your window boxes, then just soak in everything I’m about to share with you. It’s actually quite easy now that I am providing you with a step by step guide. By next year, you may have forgotten the steps. That’s ok! I’m here to help you! Think of me as your window box guide every year. Caseylynnlawrence.com is now your handbook to everything gardening!
Now lets get started on those window boxes!
Every Fall, the time comes to clean our window boxes. By this time, we have had our first frost of the season so everything looks like it has taken a dump. Some of us may even be depressed by this sight, but be depressed NO MORE! Look at it as a new season, and a NEW window box. I pull all of my old plants out, but I leave the dirt in. This way, I can now decorate my window boxes for winter time by stuffing them with cut pine bows. By leaving the dirt in, I can push the pine bow stems into the dirt, and then it freezes them in there. This way, you don’t have to worry about them blowing out during those rough, gusty winter winds. Below, I have included a video showing my window box clean up after those long winter months. You also can see how I decorate my boxes for Winter time.
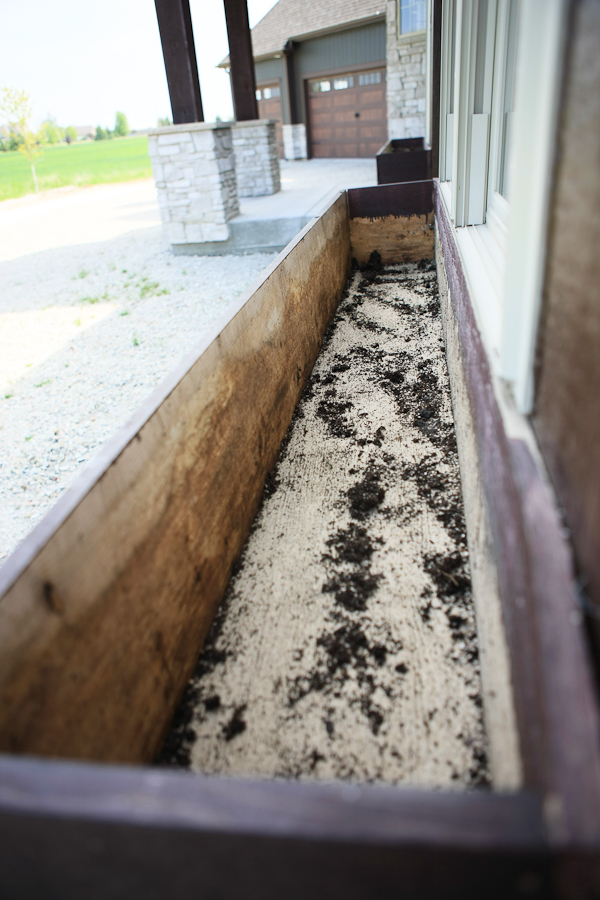 Every year, you should start with a fresh start. I empty my boxes completely. Some say this is an unnecessary step. I say, this is the most crucial step! Here’s why.
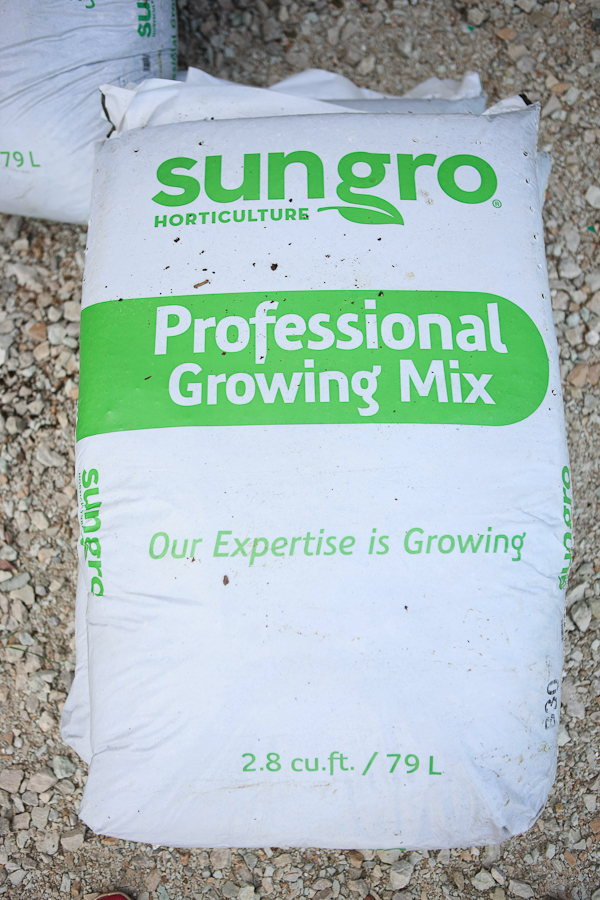 Potting soil
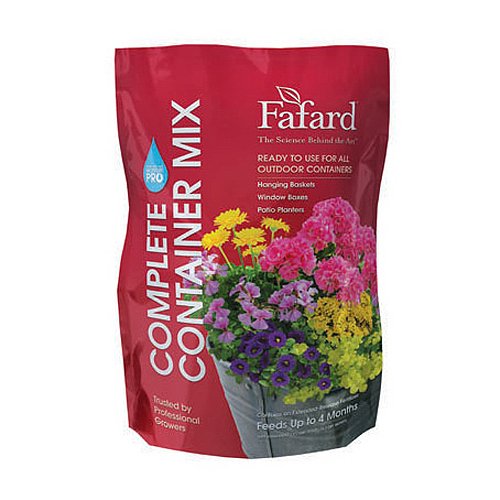
 is what I use in my window boxes, and it has all the nutrients your plants need. Fresh potting soil
to plants, is what fresh vegetables are to us, full of nutrients that does a body good. So, plants grow in the potting soil
all season long, and then they even fade out at the end of the season in that same soil. Those plants used up all the best nutrients in that soil. Let me help you understand this better. Using old potting soil
every year, is like over cooking your vegetables, no nutrients or health benefits are left.
Also, there may be unbeneficial bug larvae in that old soil. For you, this means, you may end up with an infestation problem, which leads to your plants dying or you having to spend money on a chemical or natural spray to treat your infested plants. If you are on a tight budget, then at least remove half of the old dirt. Then you only have to fill half with fresh new dirt. Just remember, there is nothing like starting over with fresh potting soil every year!
 Lets open up those NEW fresh bags of potting soil
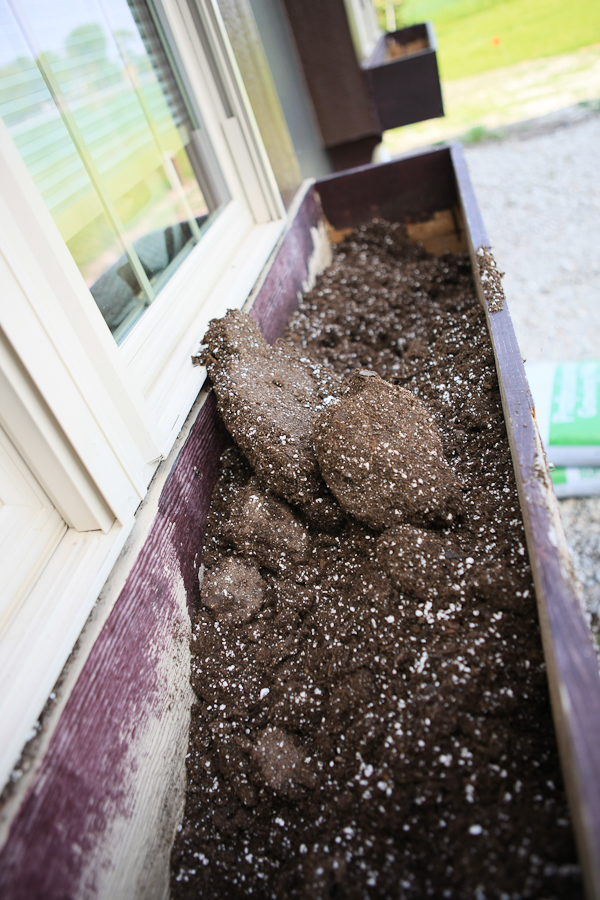
, and dump them into our window box. As soon as we dump it out, some of you may run into clumpy dirt. This happens because the bags are stacked high on top of each other for quite some time, so they are compacted. Below I have shared a video on how to break up clumpy dirt before you even open up the bag. This will help that problem. If you have already dumped your bag, and have clumps just like in the picture, you need to break all of those clumps up. This helps the plants grow better.
https://www.youtube.com/watch?v=Rkm8AvnX3gE
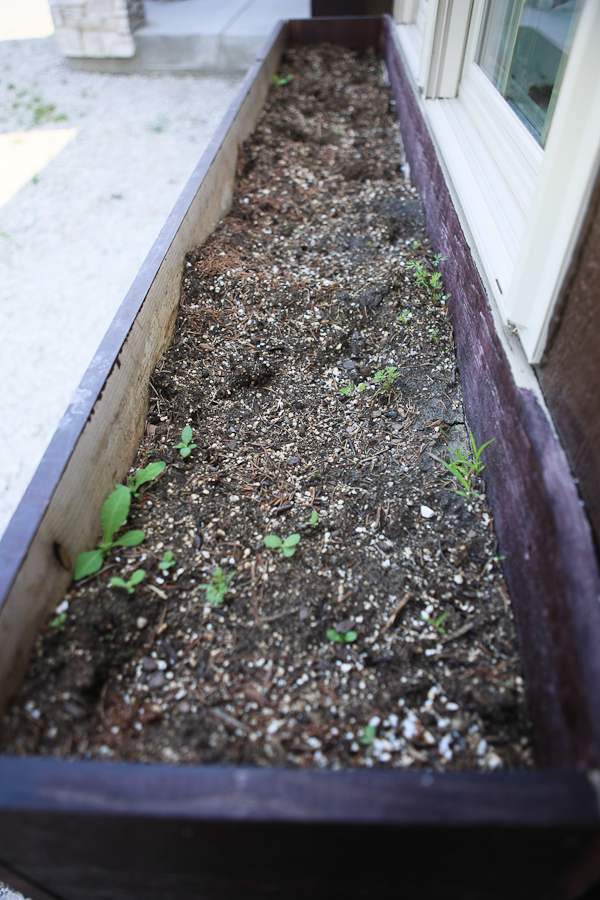
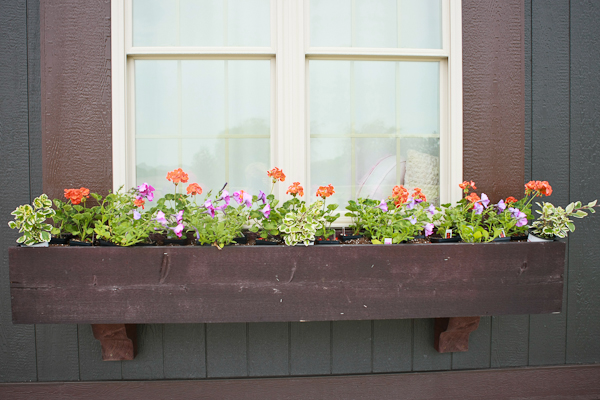
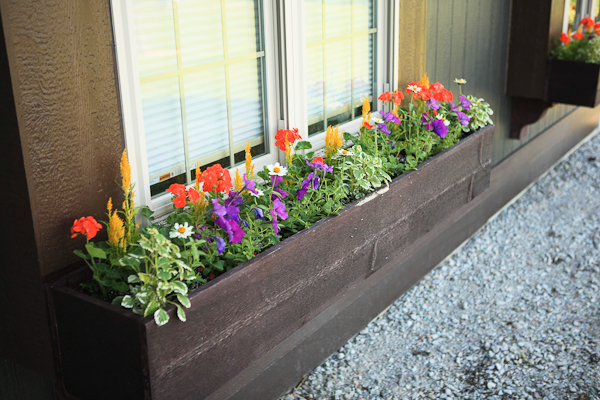
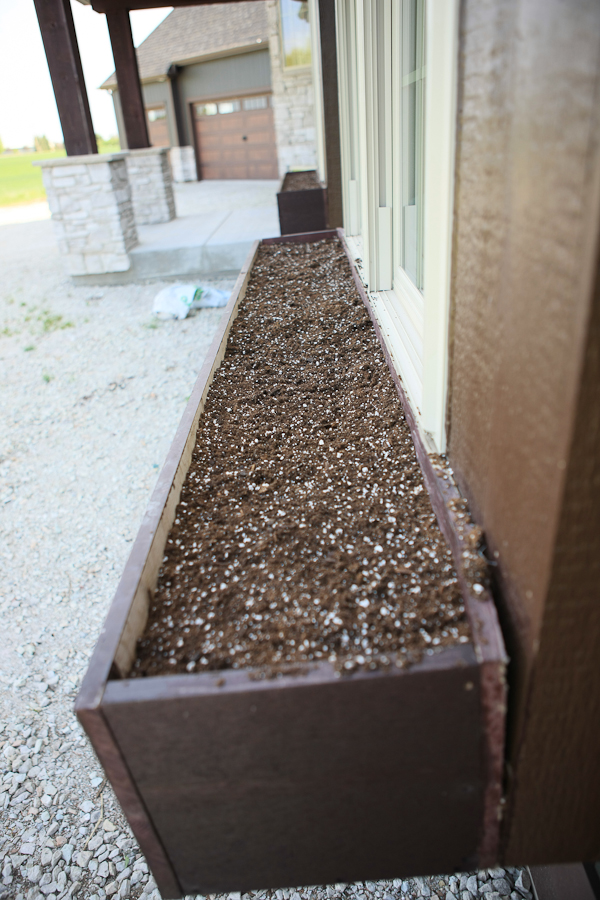 After filling your window boxes, and breaking up all the clumps, this is what your window box should look like. Be sure to leave a 1-2 inch space between the soil and the top of the window box. This allows you to water it without the water overflowing on the top and creating a big mess. Be sure your window box has drainage holes on the bottom for excess water to drain out. If you don’t, this will cause your plants to become overwatered and get root rot. I go more into detail on that, in my article, ‘The Wilt’.
 The next step is one that I can’t stress enough. Add time release fertilizer
! Why? It is a fertilizer that is always working in your favor. We have all experienced those rainy weeks in summer when our window boxes just get dumped on. By the end of that rainy week, our window boxes are SO wet, and our plants aren’t looking as vibrant in color. The leaves of the plants are looking lime green rather than deep green. The flowers are all mangled and dropping petals onto the leaves of the plants surrounding them and causing a bit of a moldy look. There are no new blossoms popping up. Well, say goodbye to those horrid days for your window boxes, and say HELLO to your NEW and IMPROVED window boxes this year! All of that rain has caused the time release fertilizer
to activate. So while your window boxes were getting dumped on, they were getting fertilized all at the same time! It doesn’t get any better than that.
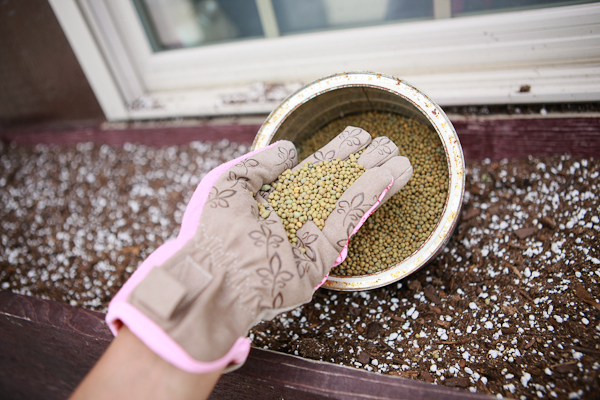
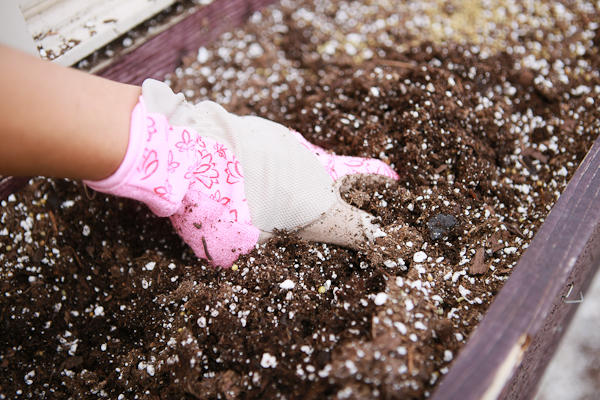
For time release fertilizer, I always use Osmocote . That is the brand of the professionals, and it has never let me down. Be sure to always wear gloves
when handling any kind of fertilizer. This is how you use Osmocote Time Release Fertilizer
:
Sprinkle 3 tablespoons of Osmocote per 2 gallons or 4 square feet.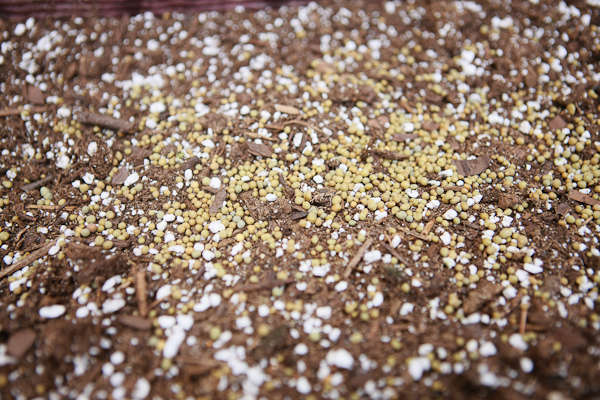
Mix into the top 1-3 inches of the soil
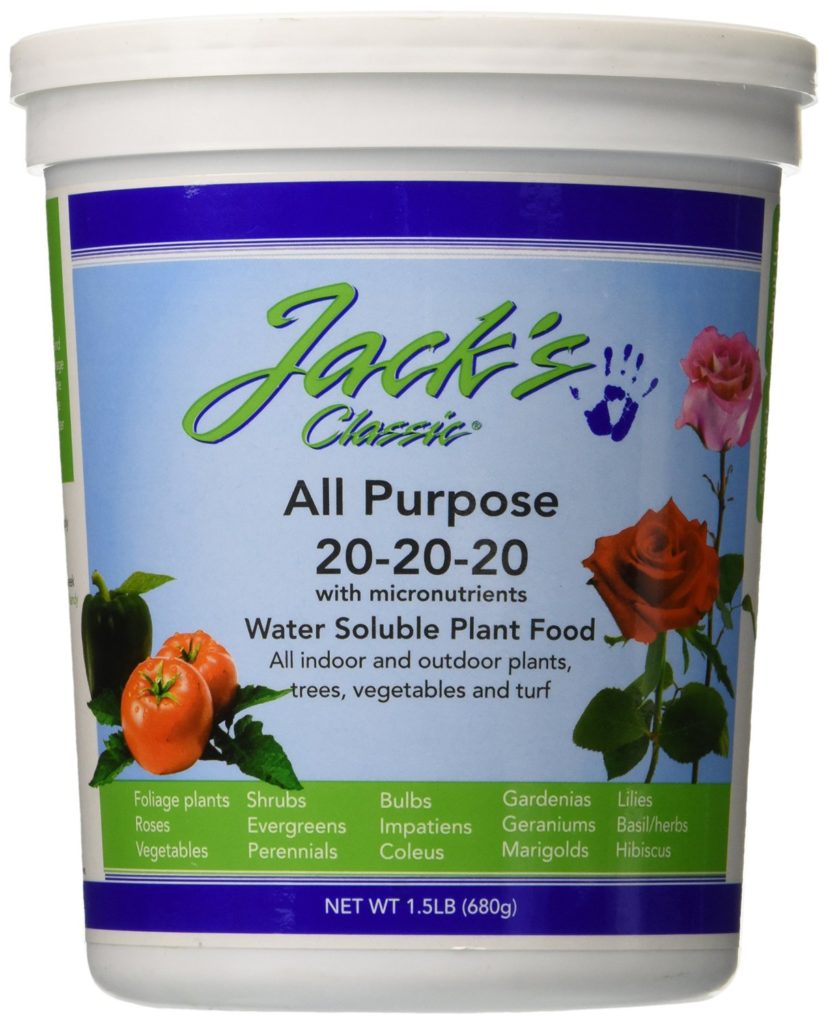
I don’t just stop there. I only use Osmocote as my back up plan during those rainy weeks. I feel, in order to keep your window boxes looking awesome and in constant bloom, you need to also be fertilizing through the water. In the beginning, when my plants aren’t completely rooted in, I fertilize through my water every 4th time. By mid July, it’s every third time. By mid August, it’s every other time. I up the fertilize dose due to the growth in the plant, and the stress the plants take on from the beating hot summer sun. The sun in summer sucks a lot of nutrients from the plant. By late summer, your time release fertilizer isn’t kicking in as much as you would like either. Why should you take my advice on this method? Because my window boxes are extremely impressive all the way up until the first frost! I have been using this method for years! I’m going to let you in on a little secret to my success. Here is what I use: Jack’s Water Soluble Fertilizer

 The next thing I do is lay out my plants. This is how I decide on the placement of the plants in my window box. I do a lot of staggering so there are no empty holes as they grow in. Seed geraniums are the one variety I use, year after year. They are constant bloomers and hardy all the way up to the first frost. They come in many vibrant colors and they are also drought tolerant. Later in the season, some varieties used in your boxes may end up looking a little rough due to weather. If that’s the case, just yank them out when they look rough, and the seed geraniums will fill in those empty holes, and just continue being the bomb until the end of the season.
 I then evenly place my trailers in the front of the window box. This year, my trailers are, the Iboza Vine and the Wave Petunia. The Iboza vine will be a trooper all the way up until the first frost. The wave petunia can sometimes poop out on me by late august. Not always, but sometimes. This is due to really rainy times, or if they don’t get watered in time before drying out. Wave petunias, unlike Seed Geraniums and the Iboza Vine, are not drought tolerant. I know this going into the season, and that’s fine. If, or when they poop out on me, I will just yank them and allow everything else to fill in. Why do I continue to put the Wave Petunia in my box even though I know they will eventually be pulled out? It’s because they are show stoppers through out the entire summer, and by the time they are pooped out, it is time for me to decorate my boxes for fall time anyway. Everything runs it’s course, and when it’s finished, we need to just appreciate the time it had with us and the beauty it created during it’s course.
 The last thing I place in my window boxes are my stuffers. That’s right, I’m an over stuffer. The pros of overstuffing are, instant gratification and never having a bare looking window box. The cons to overstuffing are, some plants may over take others. If you are ok with that, then over stuff away! Below I have included a video on over stuffing, and how to maintain an overstuffed planter. Which, lets face it, a window box is just a built in planter.
https://www.youtube.com/watch?v=-_X2ozzfiGI
 Now that you have your plants placed, you can go ahead and plant it! Sometimes, when they are placed close together, it makes it difficult to plant them. What I would suggest, is taking them all out, but placing them on the ground in the design and order you arranged them in the box. You could also take a picture for a visual reference. If you have two window boxes next to each other, like mine, you can go ahead and plant up the empty window box by just mimiking the one you arranged.
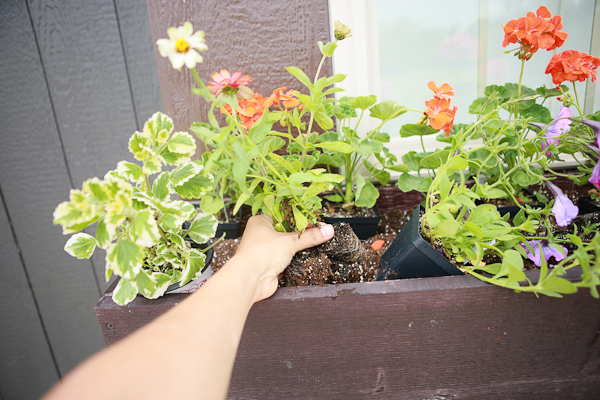
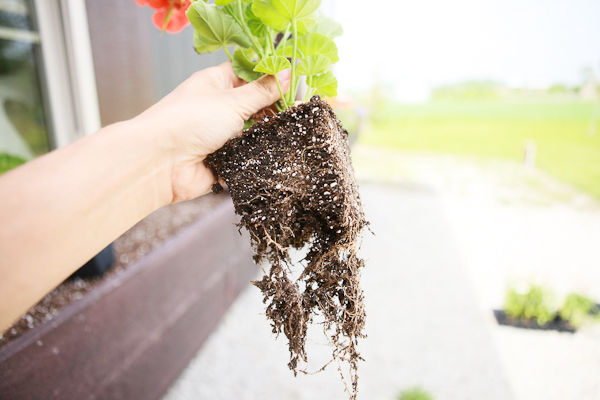 When planting your window boxes, be sure to break up the roots of the plant just like in the image I have shared with you. Even though you are breaking up the root, don’t get too rough with it and tear it off. Just loosen the roots. This helps the plant take off quicker. If you don’t do this, the roots will just keep growing in the shape of the pot it was originally planted in for a short period. By breaking up the root, you eliminate that period, and get that root system focused on expanding into it’s new growing space immediately.
 Now that your boxes are planted, you are going to want to water them. The first time I water a freshly planted window box, I fertilize through the water with my Secret Fertilizer
 I shared with you. This gives everything an immediate boost from the get go. If there isn’t any rain in the forecast for the next 24 hours, I go ahead and water all the way through, until the water runs out the bottom of my window box through the drainage holes. If there is rain in the forecast, I only water about half way through. This will eliminate any overwatering side effects. After that first initial watering, I then only water when dry. If you don’t know how to tell, stick your finger in the soil. If it feels wet or damp below the surface of the soil, then just leave it. If it feels dry, then it is time to water it again.
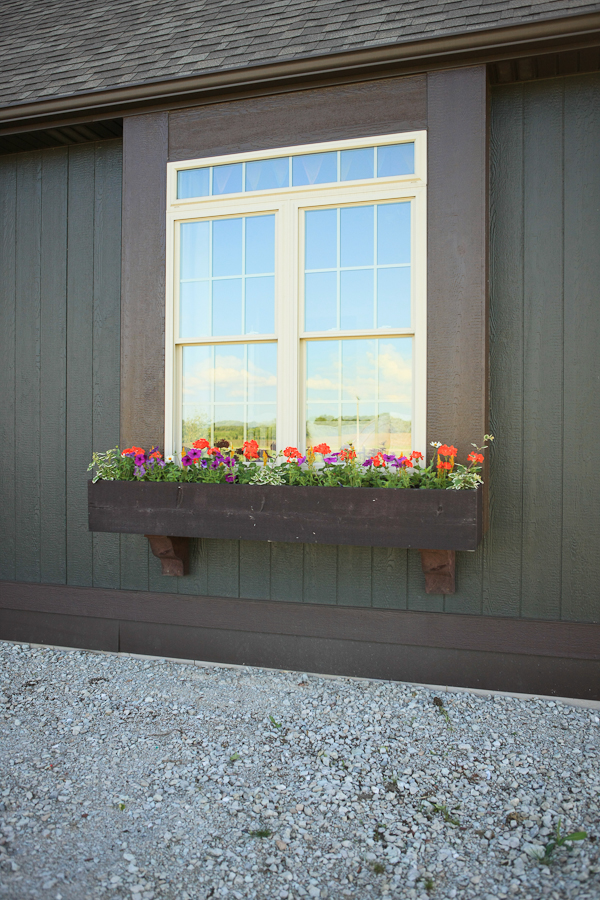 Now you can enjoy your beautiful window boxes for the next several months. Not only will they be beautiful, but by following my steps, they will be unforgettable to you and your guests!
If you have enjoyed this article, feel free to subscribe to my blog and receive a weekly article like this one.
My Mission:
Creating Green Thumbs, One Brown Thumb at a Time.
Below, I have included the supplies I personally use in order to have unforgettable window boxes and planters. I highly recommend these items, and they are just one click away.
” target=”_blank” rel=”noopener”>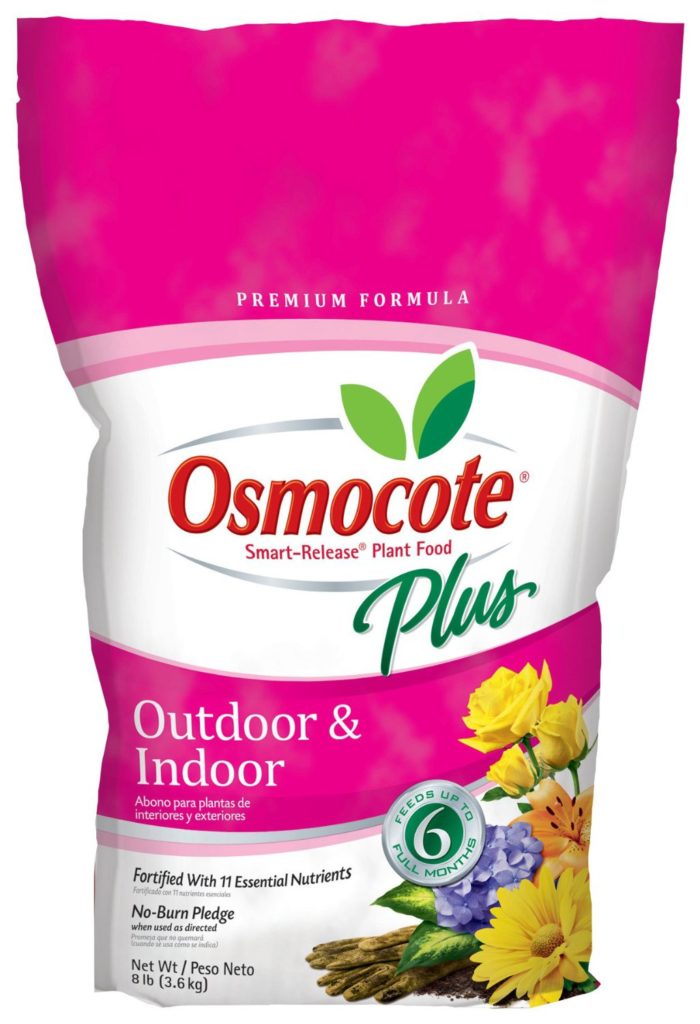
Osmocote Time Release Fertilizer