Browse Every Blog, post, picture, and video Casey has made.
Planters and Drinks, featuring Staci Joers, Cooking With Class
Planters and Drinks, featuring Staci Joers, Cooking With Class
This is a must watch funny, entertaining and informational Episode. As I demonstrate how to create a Strawberry Planter, Staci Joers, Cooking Instructor, from Cooking With Class, shows how to create the perfect drink for Mother’s Day. Lets face it, it’s the perfect drink for any day! Staci demonstrates the process of making the perfect Pimm’s Pitcher, and shows how easy it can be to duplicate it. She shares her recipe with you below. Want to learn more about Staci? Visit her by clicking below:
Staci Joers, Cooking With Class
Feel free to Follow Staci Joers on Facebook by, Clicking Here
Now enjoy the Entertainment.
Staci’s Perfect Pimm’s Pitcher
Serving Size: 6
6 Sprigs Mint
1 Orange, Thinly Sliced
1 Lemon, Thinly Sliced
2 Cups Strawberries, Washed and Thinly Sliced
1/2 Cucumber, Peeled, Seeded and Sliced
3 Cups Ice
2 Cups Pimms No.1 Liquor
4 Cups Lemon Lime Soda, or Lemonade or Tonic
Casey’s Strawberry Planter
Clay Pot with Saucer (The Home Depot)
Potting Soil
Worm Castings, or Another Organic Fertilizer
Everbearing Strawberries, or Herbs
Want the most current Updates on what I’m up to? Feel free to Follow me on Facebook by, CLICKING HERE.
Like this Article? Want to see more just like it? Then feel free to Join the Party by clicking below:
Subscribe Here
April 8th, This is What I’m Doing Today
April 8th, This is What I’m Doing Today
Today is April 8th. It is 65 degrees and beautiful out, but of course, windy. I’m outside getting a head start on cleaning things up and getting things prepped for the growing season. See what I’m up to today, and meet my fun family!
Weed Prevention, What I Use
Blueberry Patch, Tips for Growing
https://www.youtube.com/watch?v=5joLPO2JqFs
Strawberry Patch, Tips for Growing
https://www.youtube.com/watch?v=btjU5EyqRKM
Go Away Bugs
https://www.youtube.com/watch?v=gqGNlaBF6Mg
Window Box Clean Up, Set Up for Success!
https://www.youtube.com/watch?v=0cKy3-hBfnQ
If you would like to see more of what Casey is doing on a daily basis, feel free to Subscribe below:
Subscribe Here
How to Seed and Grow Herbs Indoors
How to Seed and Grow Herbs Indoors
If you are an herb lover, like me, then you are definitely going to want to learn how to seed your herbs indoors. This way, you can enjoy fresh herbs all year long. Once the months are warm enough outside, you can seed or plant your herbs outside. The same rules apply for outdoors. Now let me show you how easy it is to do this all by yourself!
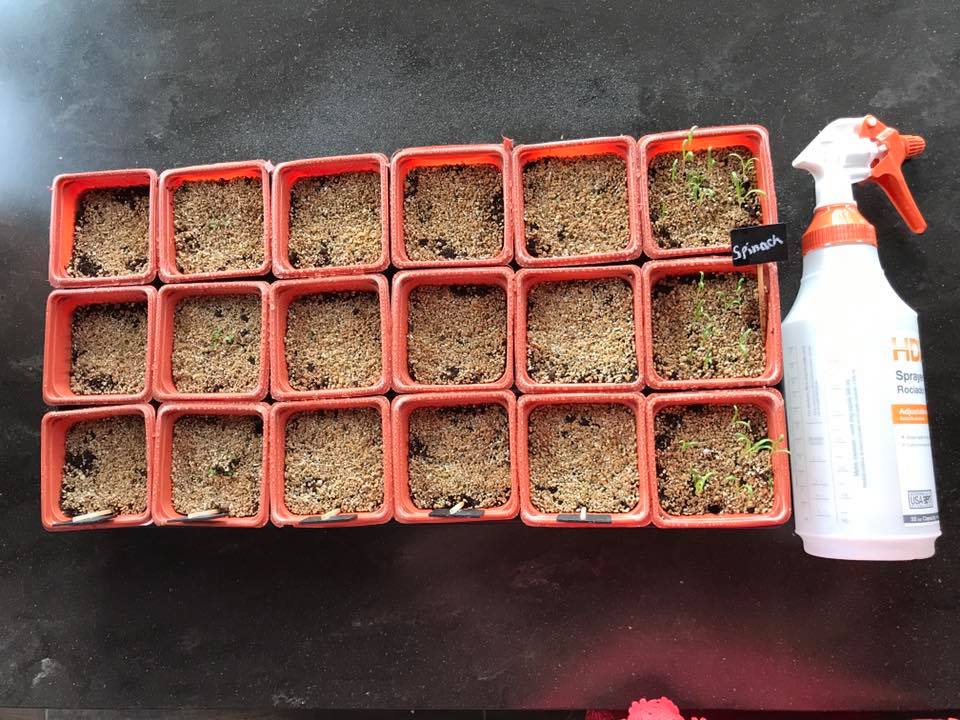
It’s been one week since I seeded my herbs in that video. The Spinach, which isn’t an herb just a favorite, is popping up very nicely and so is the basil. Take a look below.
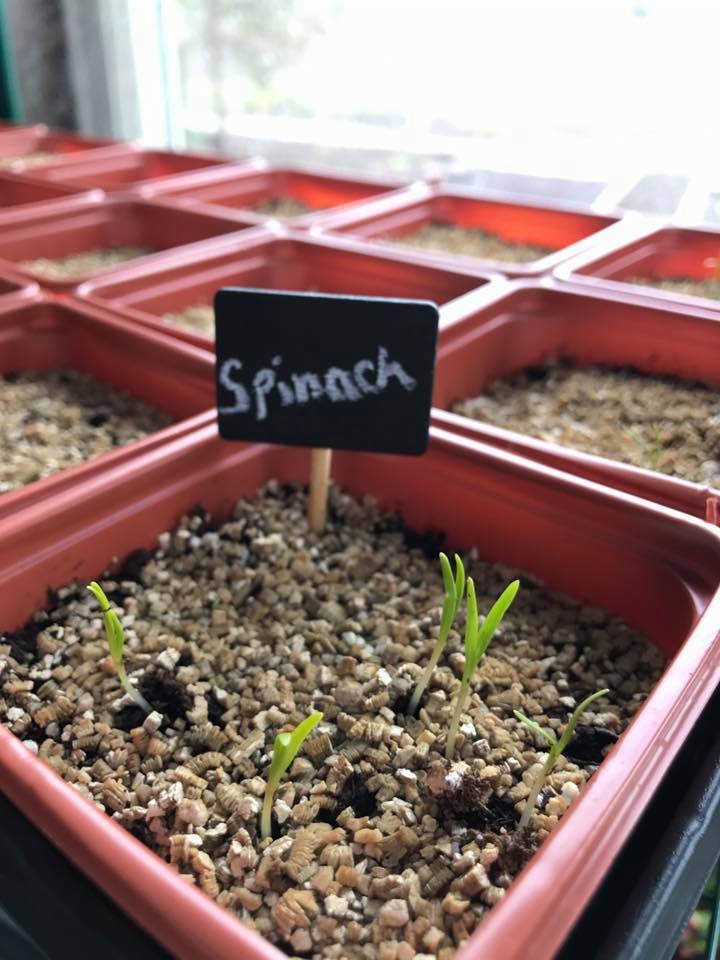
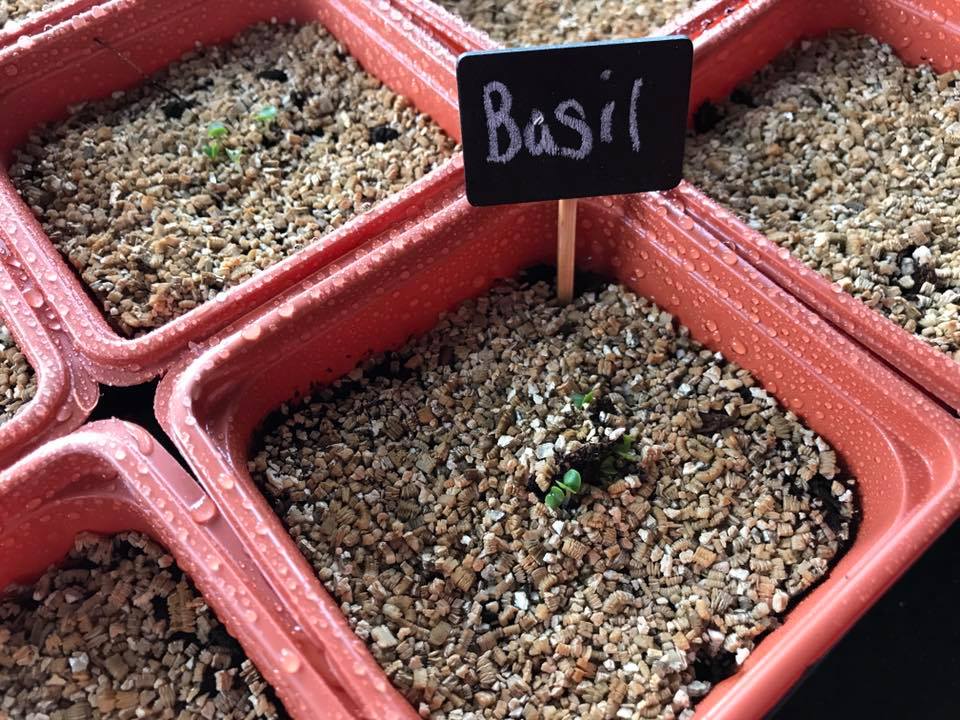
During this time I have placed them in my mini pop up greenhouse in my kitchen, along with a few cuttings. I open the greenhouse during the day for good air circulation, and I close it at night to close in the warmth. This is standing in front of a south side window that gets a lot of sun. We had 2 warm days this past weekend, so I even cracked that window just a little bit to bring in the fresh air.
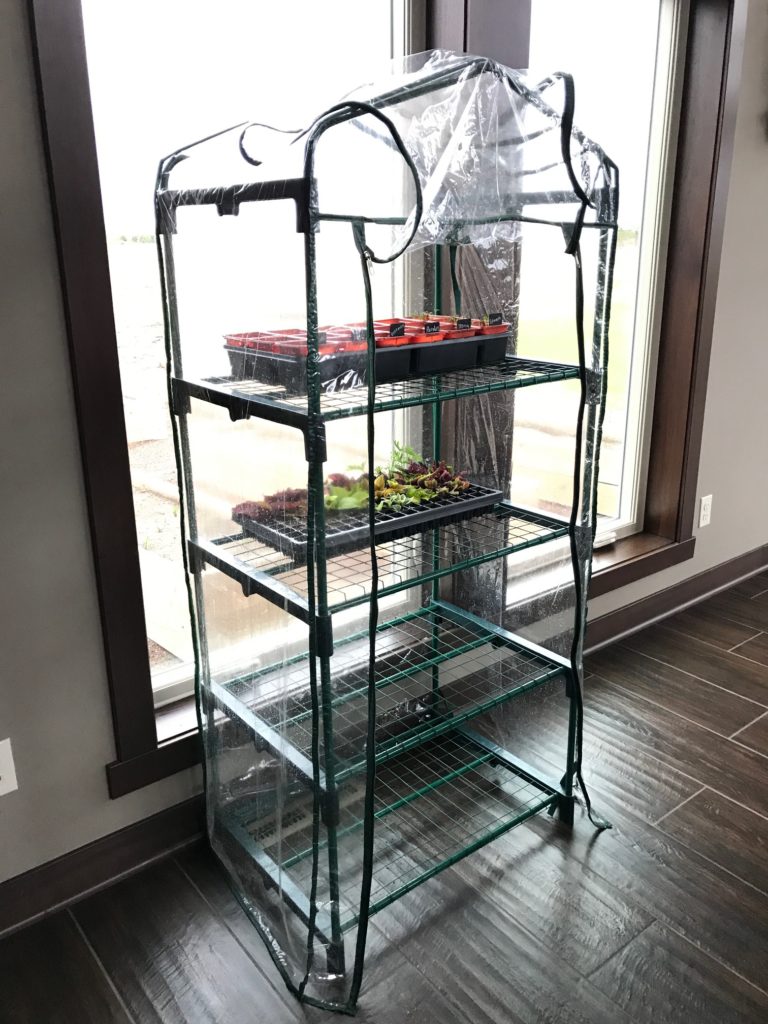
Today, just one week from seeding, is the first time I have spritzed my seedlings with a fine mist spray bottle. Pictured below.
Learn how to harvest your herbs so you can enjoy them all year long by Clicking Here.
If you like this lesson, there’s more every week. Feel free to join the Garden Party by clicking below:
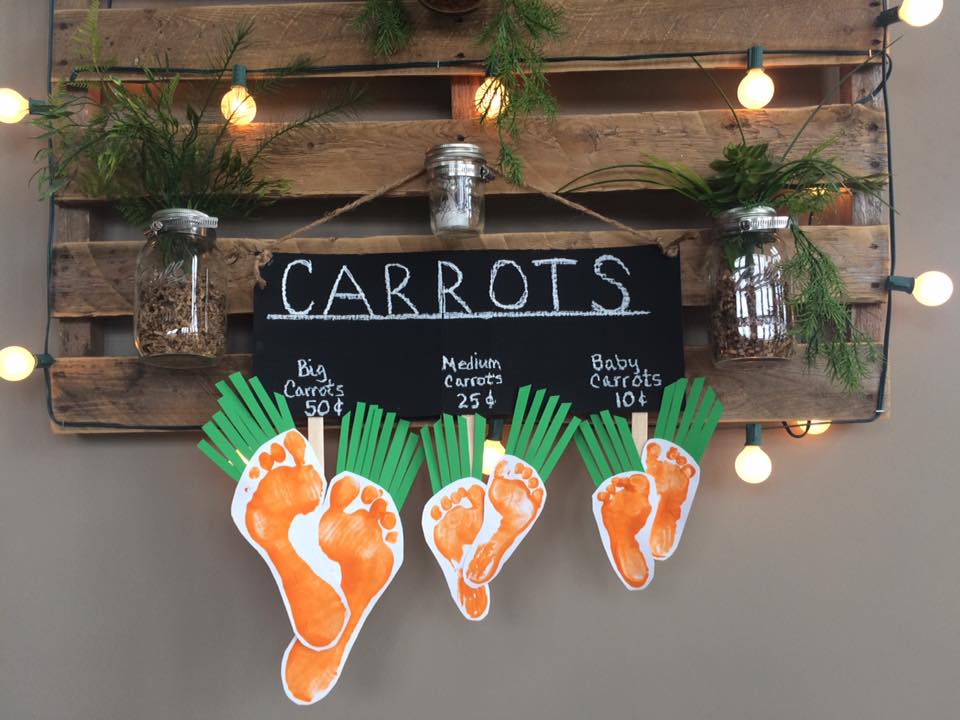
DIY: Carrot Sign
I just made this with my little ones, and it was a hit!
So, I was on Pinterest, like most of us always are, and typed in ‘Easter Crafts for Kids’. What popped up was a cute little carrot project. Little Lana said, “Mom, I want to make those carrots.” I thought it was an ok project, but then my mind started wandering, and that’s when I thought, ‘Lets take this craft one step further’. This Easter Craft quickly became a Spring/Summer Craft. That’s how my DIY Carrot Sign got created.
What you need:
- White Card stock Paper
- Orange Washable Paint
- Green Construction Paper
- Glue or Hot Glue Gun
- Scissors
- Cardboard
- Black Acrylic Paint
- White Chalk Board Marker
- Jute Rope
- Popsicle Sticks
This project wasn’t an all at once project. Which I felt was great for young children since they always seem to get bored quickly. So in the morning we did step one, and in the afternoon we did step 2.
Here are Step by Step Instructions:
-
Take Cardboard and cut out a rectangular shape. Paint it black with Acrylic Paint. Then just let it dry. Take an old piece of cardboard or thick stock paper and pour washable orange paint on it. Then dip a foot in it. Then stamp the foot onto thick white card stock paper. Be sure to keep a towel nearby. It would be unfortunate if a little one decided that-that was the time to take off and run through the house. As soon as that foot gets stamped on paper, be sure to wrap it up with a towel and bring them to the nearest sink or tub to rinse their foot off. If you use washable paint, then you will have no trouble getting this paint off of their feet. Then, we just let the painted foot prints dry. You can either call it a wrap for the day, or continue the project later that afternoon. If you didn’t come prepared with a towel, then I’m sure you ended up calling it a day.
- Now we are moving on to the second half of the project. Using kid safe scissors, let the kids help cut out their own feet. You may want to assist with this, because kids tend to cut and tear all at the same time, and you don’t want to have to redo step 1.
- Give your kids, kid safe scissors and green paper. Let them cut and tear, while you cut nice straight strips of green paper.
- Let the kids glue the green strips of paper onto the back of the foot. Then collect their Project, and straighten out the green strips. Then finish it off with some hot glue so you aren’t waiting all night for those to dry.
- Take the card board you painted black, and write something cute with a white chalk board marker.
- Then, arrange the feet in pairs, and hot glue them together.
- Grab your popsicle sticks and use these to attach the ‘Carrot Feet’ to the card board sign with hot glue.
-
Last, take just rope and cut it accordingly. Knot each end just for looks, then hot glue it to the cardboard sign.
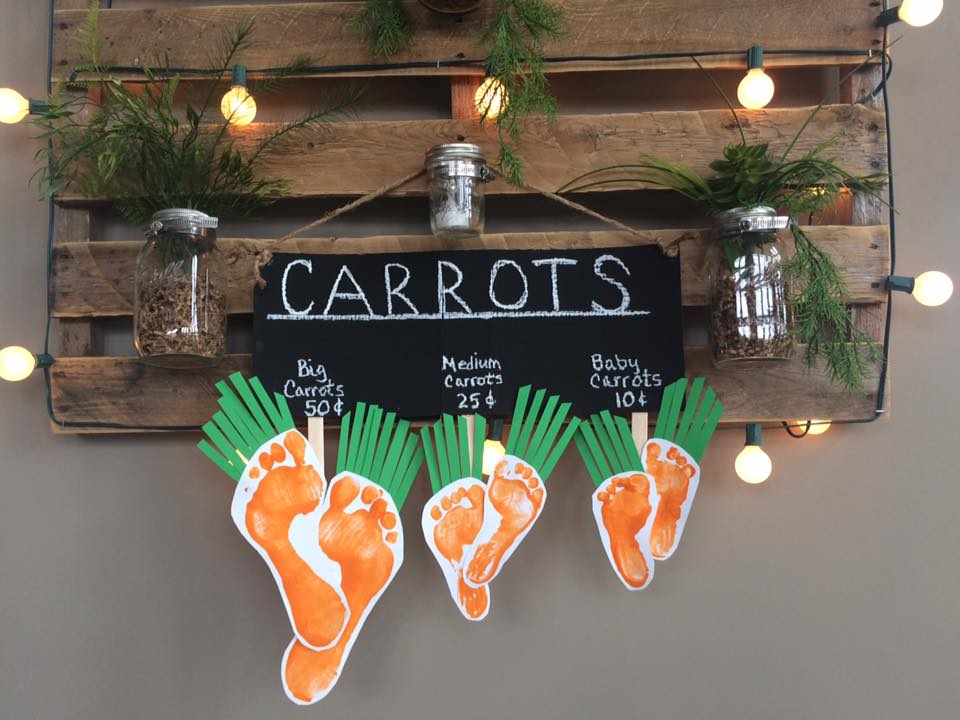
There you have it. All the kids have to do is stamp, cut, tear and glue. So pretty much, what I’m saying is, hope you like crafts!
If you liked this DIY article, you may like this one:
Easy. Fun. DIY Picture Frame Ornament
Feel free to: SUBSCRIBE HERE
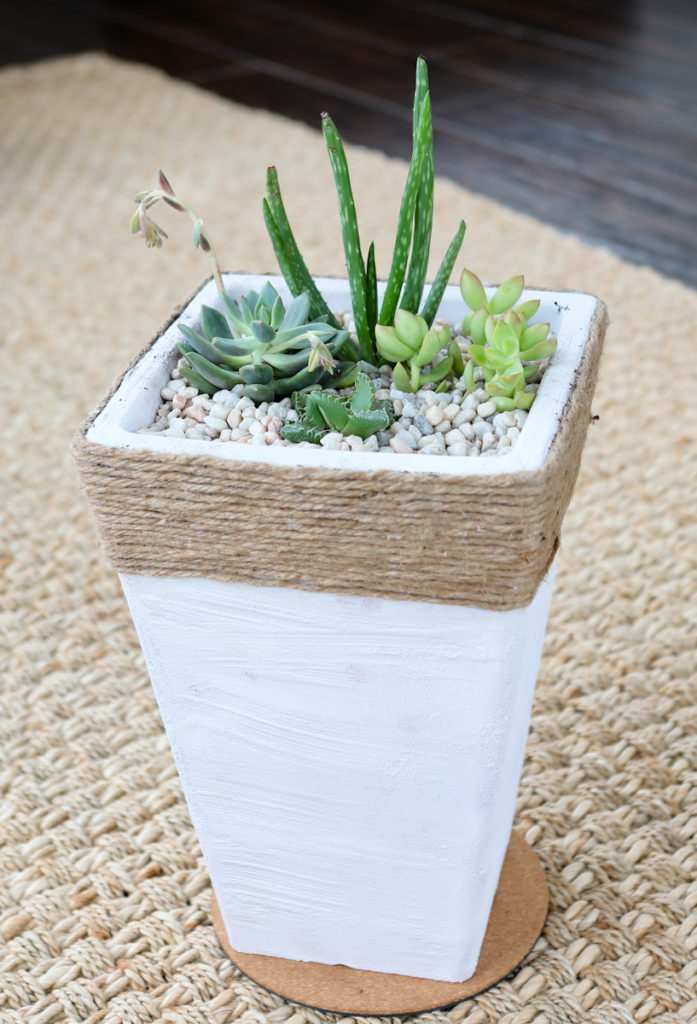
How to Create a Successful Succulent Planter, PLUS DIY: Take an Old Planter, Make it NEW!
Are you ready to learn some of my secrets for planting succulents successfully indoors? Then this is the lesson for you! First, let me show you how to easily transform an old container into a NEW one in this 1 minute video!
Now that you have your NEW planter, lets plant it up! In this live lesson below, I will show you my secrets to succulent success indoors!
https://www.youtube.com/watch?v=t8SaZFwbXDM
Don’t forget your free Garden Recipe Card with Images and Names of all the varieties used through out this lesson. I also included what I use for soil and fertilizer. The BEST part, I threw in a diagram on how to plant your own!
CLICK HERE FOR YOUR FREE GARDEN RECIPE CARD!
Don’t miss your lesson below, on how to water this newly planted succulent planter. Remember, only water succulents when the soil is completely dry.
https://www.youtube.com/watch?v=liG8-2XYZc0
Here’s a quick tip I’d like to share with you on how to know when to water your succulents. I show you how easy it is in the video below.
https://www.youtube.com/watch?v=H1uB9BzoQX8
In the video below, I share my expertise on how to fertilize your succulents.
https://www.youtube.com/watch?v=Ykf99ZdSlRs
I hope you enjoyed your lessons today. If you want more lessons like this one, please feel free to subscribe to CaseyLynnLawrence.com.
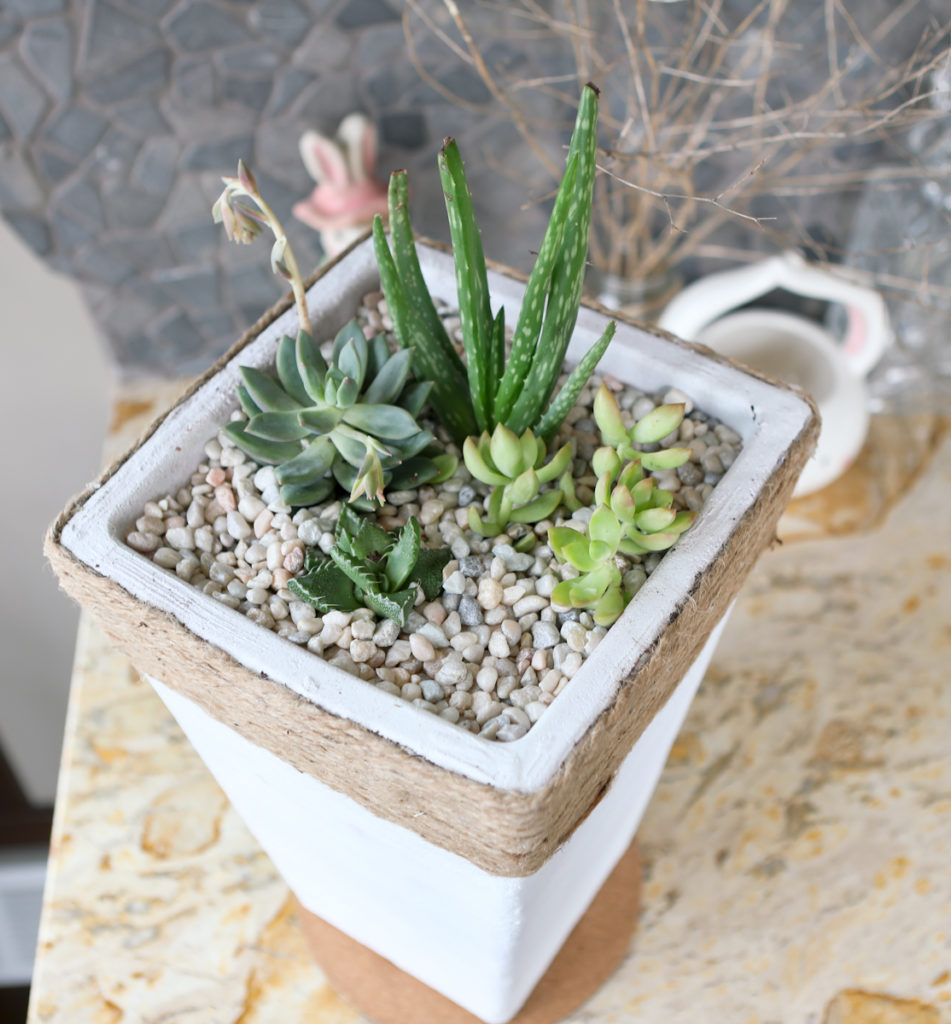
Easy, Inexpensive Ways to Decorate for Easter and Spring
Easy, Inexpensive Ways to Decorate for Easter and Spring
Decorating for Easter can be very fun and easy. All you really need to do is add pastels, jellybeans, a few bare branches and a few touches of greeneries. The one thing that I do specifically for Easter, is an Easter Tree. This has been a tradition in my family since before I can even remember. Now I take the small little branch Easter tree that I used to know, and I have turned it into a legend.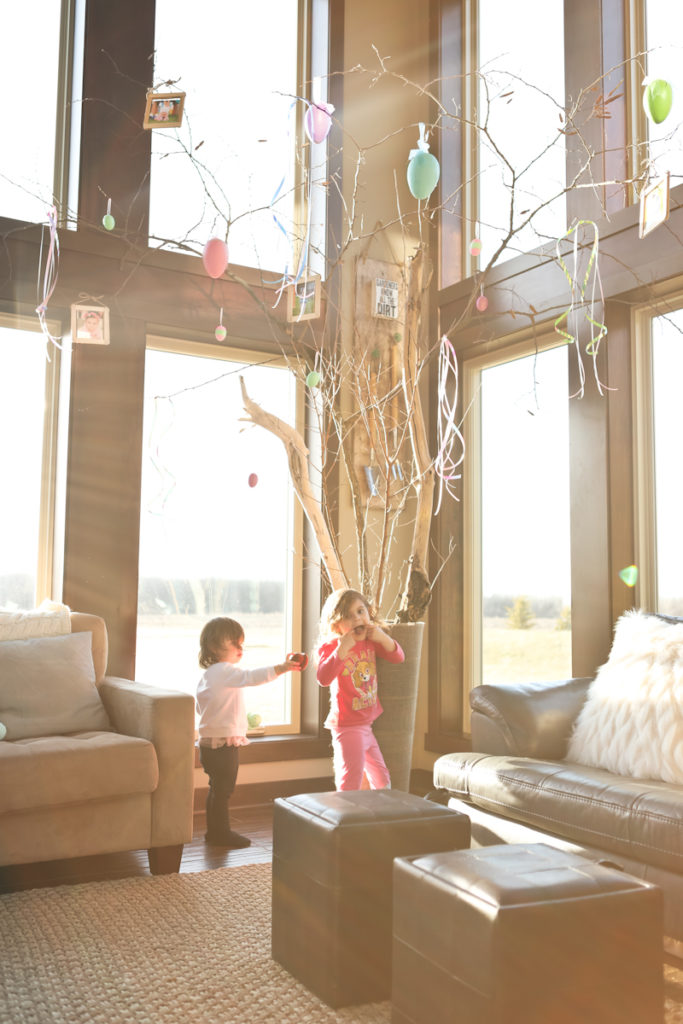
I used one huge tree branch in the back, and then placed one smaller bushy branch in the front. On the sides, I mixed in a few old weathered logs. This gave it a more natural woodland appearance. My little kiddos love this tree and think it’s so awesome!
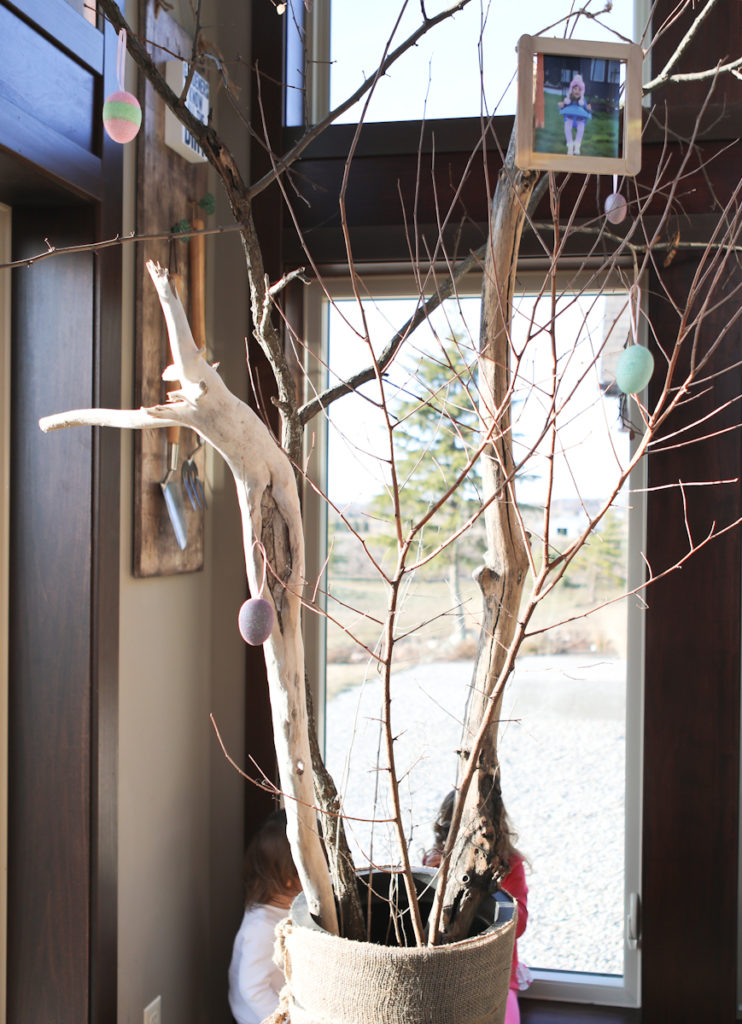
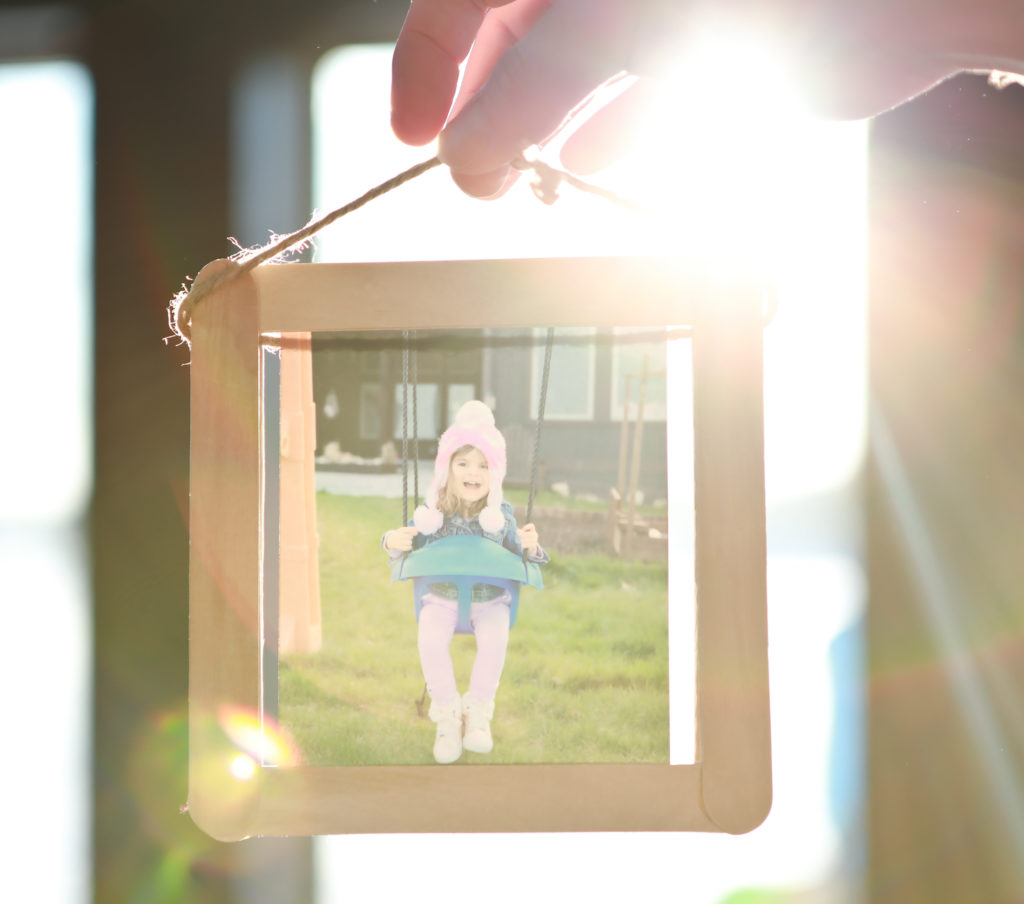
I kept the decorating on the tree minimal, so you could still enjoy the beauty of the natural textures and colors. All I added were some big eggs, (which were only 1.99 on sale at Hobby Lobby), some curling ribbon (1.99 for a large amount of it), and my homemade picture frame ornaments (popsicle sticks were 5.99 for a big box at Michaels). This is a picture of the homemade picture frames. Below this picture, I have also shared a 1 minute video on how to create these fun and easy diy projects!
Here’s a video on how to create those homemade picture frames.
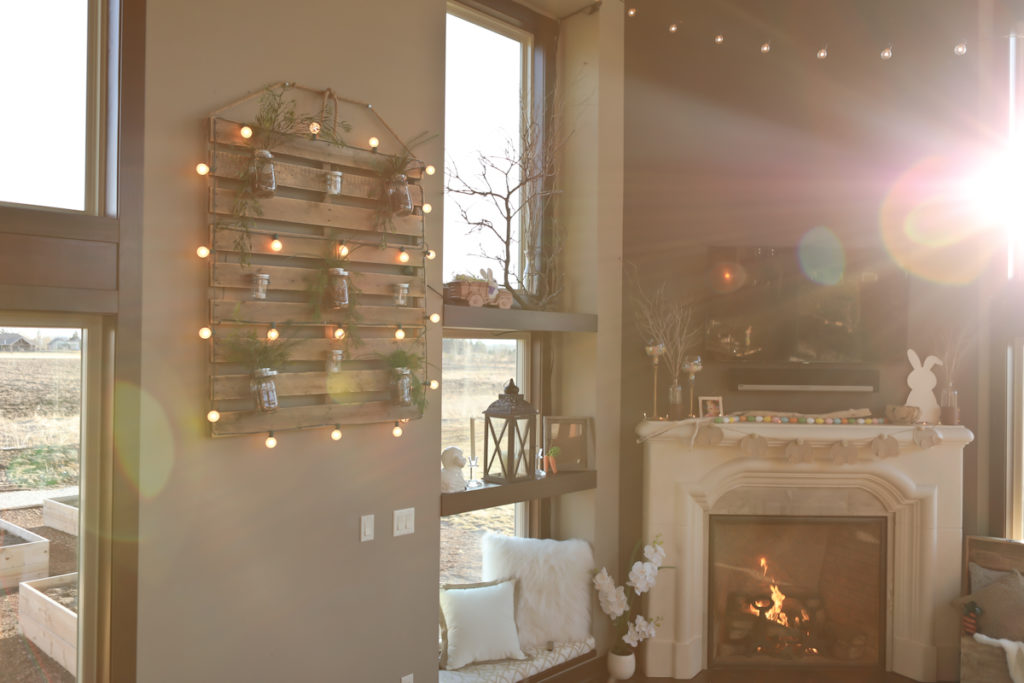
Every year, I use everything over and over. I just find ways to display it differently so it looks different every season. I do find myself adding 1 or 2 new things a year, just to keep it fresh. One of my most favorite pieces for decorating is my Palette Art! I change it up for every season, and it lights up the wall and the whole room. For Spring and Summer, I use greens in the jars. For Fall time I cut short bundles of corn stalks to decorate the palette with, and for Christmas, I use pine bows. All I did to make this was drill holes on the sides of the palette to run a big thick rope through for hanging. I screwed on metal pipe fittings to attach the jars, and the small jars hold tea lights. When I say “I” through the process of making this, I mean, my husband. I have the idea, and he willingly helps me with his handy little heart!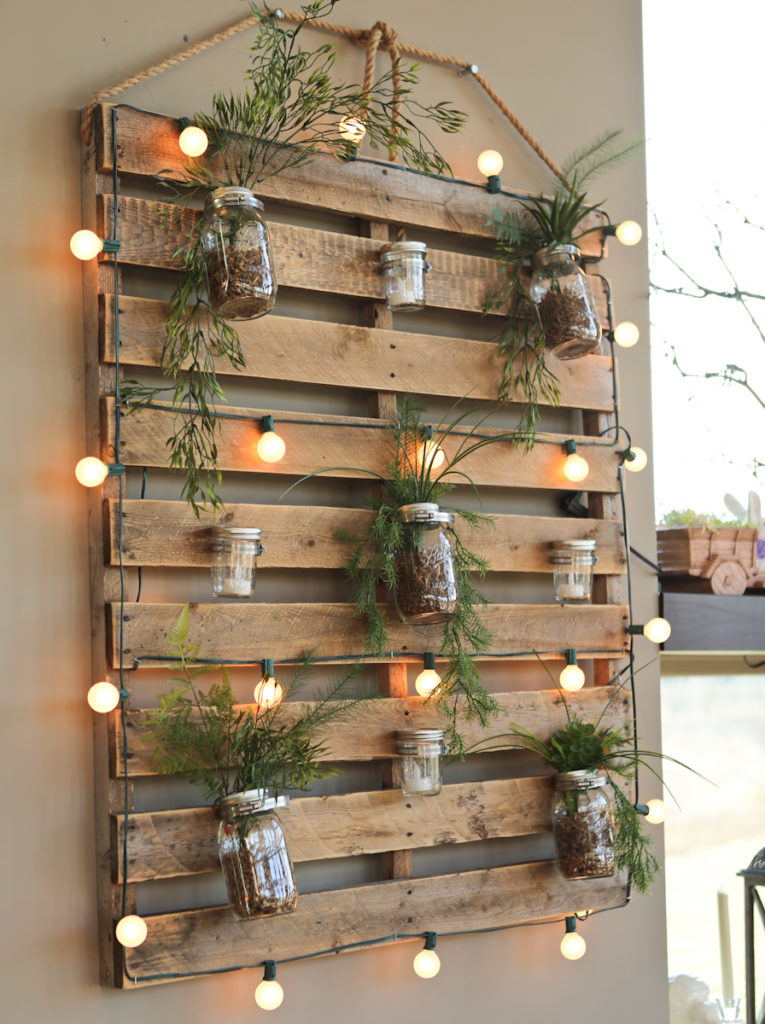
As you can see, there are a lot of windows on the wall that this palette art is displayed on. By adding this palette with warm lighting and greens, it really warms up the whole area. In the future, I would like to add some really long curtains on the windows to add more of a warmth in the room, but that isn’t in the budget right now. And that is what’s so great about the decorating ideas I have for you, because it literally costs almost nothing.
My new addition this year, to my Easter/Spring decorating is that really cute little Bunny pillow sitting upon my tan couch. It was such a great find at Michaels. At first I picked it up, and saw the price tag of 19.99, and I put it back. Then, I saw a 40% off sign! That’s right, I did what anyone would’ve done, I threw it back in my cart, checked out and took it home!

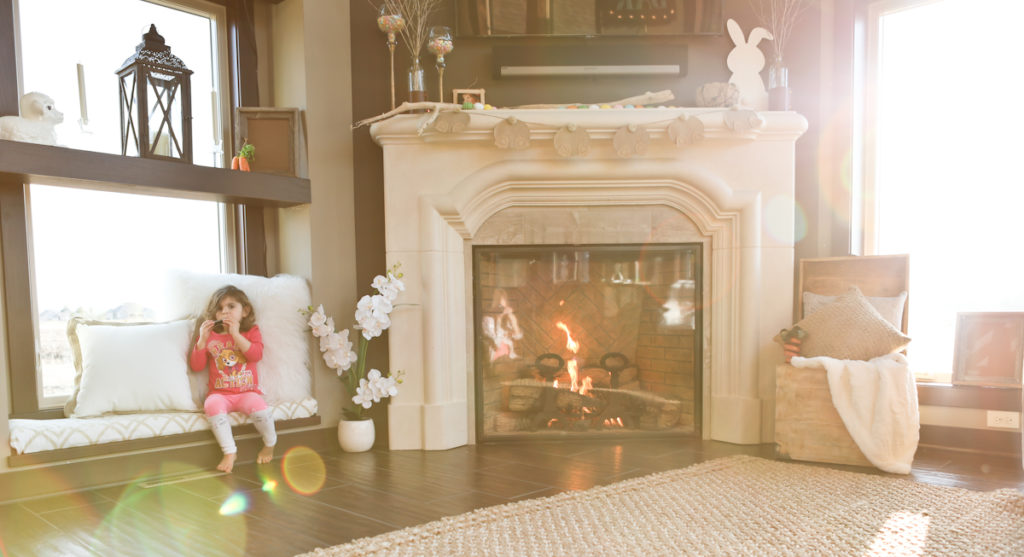
Nothing says cozy like a hot roaring fire, but of course we have to add decor. This will make it feel even cozier, for those 2 warm Spring days you don’t want the fireplace on. For Spring/Easter, I like adding a touch of something flowering. I use a lot of accents that are natural in color, two being ivory and white because to me, that represents the Easter Bunny. Therefore, I still have furry stuff out from my Winter decor, but it has to be white or Ivory for this season. One thing I always like to do, and am getting known for, is always finding somewhere to add extra seating. In this photo below, you can see that there is a box out window, and I added a homemade cushion. This is where my little ones relax while they are bird watching or, like in this picture, playing their harmonica. If you’d like to learn how to create your own custom cushion, I have a really easy, inexpensive DIY article that you need to read. There are step by step instructions and no sewing involved!
Just Click Here for the Step by Step Lesson on How to Create a Custom Cusion.
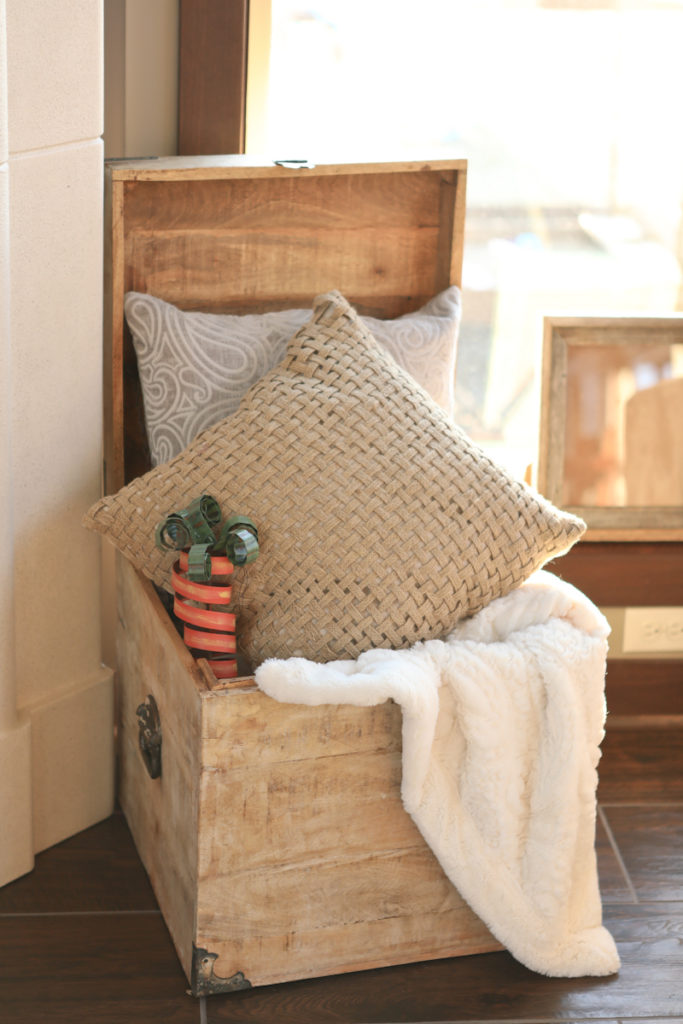
I always have my favorite storage box next to the fireplace. This is a staple every season. It never moves. All I do is switch out blankets and pillows. So for this season, I feature a more neutral look by using a cream blanket and a jute rope pillow. I also added a grayish pillow behind with a little print on it. It adds a touch of design and ties in our gray couch. Then, I kick it up a notch for Easter, by just simply adding an orange metal art carrot that I got at Hobby Lobby. You guessed it, it was 50% off, so it also left in my cart and found itself in my home as an addition last year.
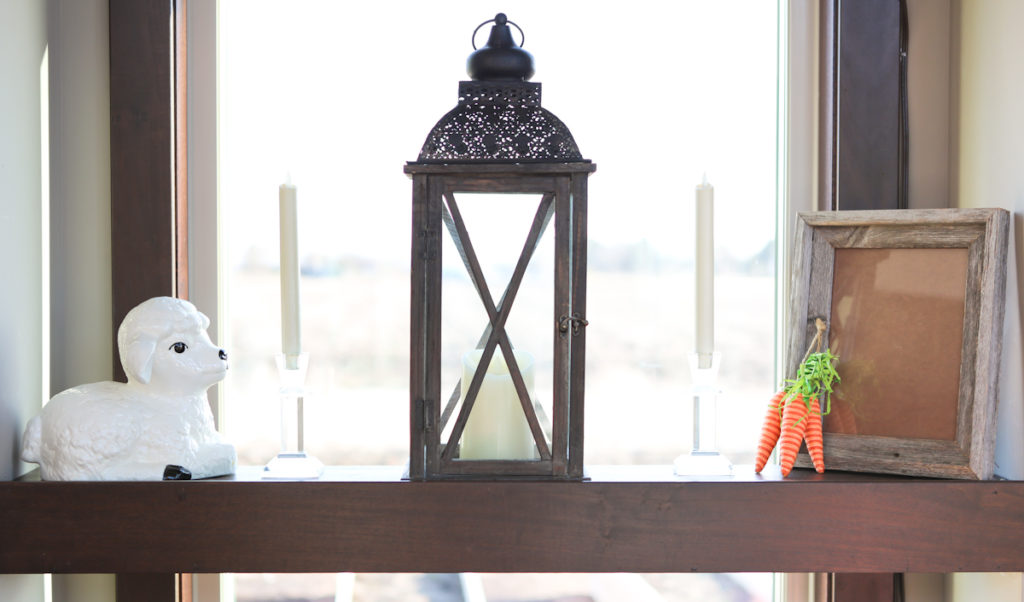
On shelving I like to keep it simple. As you can see there’s a picture frame with no picture in it. That’s because, my picture order didn’t come in on time for the shoot I did of my decor. I use pictures as decor, and I switch them out based on the season. I also make sure that-that picture is going to match and look great with the rest of the decor. Then I just add a decorative bundle of carrots in front of the frame to add a touch of easter. At night time this shelf glows due to the candle sticks and candle I have on it. I love the Luminaire Brand, they are expensive, but boy do they look real. I only buy one here and there with a coupon from Bed Bath and Beyond. The little sheep on this shelf is not my style, but it means a lot to me. This sheep was made and painted by my Grandma who was the most caring and giving person I’ve ever known. She passed a few years ago, so I like to display her art work whenever and whereever I can. It may not be my style, but every time I look at that shelf, I am reminded of who I want to be, and I smile.
Lets take a look at the mantle. If you notice, I didn’t have to go out and buy a super expensive Easter swag to decorate it with. Instead, I used a beach weathered branch, an egg garland (from hobby lobby $5), a homemade picture ornament (how to video at the beginning of this article), candelabras with Jellybeans (I use these for any season), and some natural branches. Simple, easy and inexpensive!
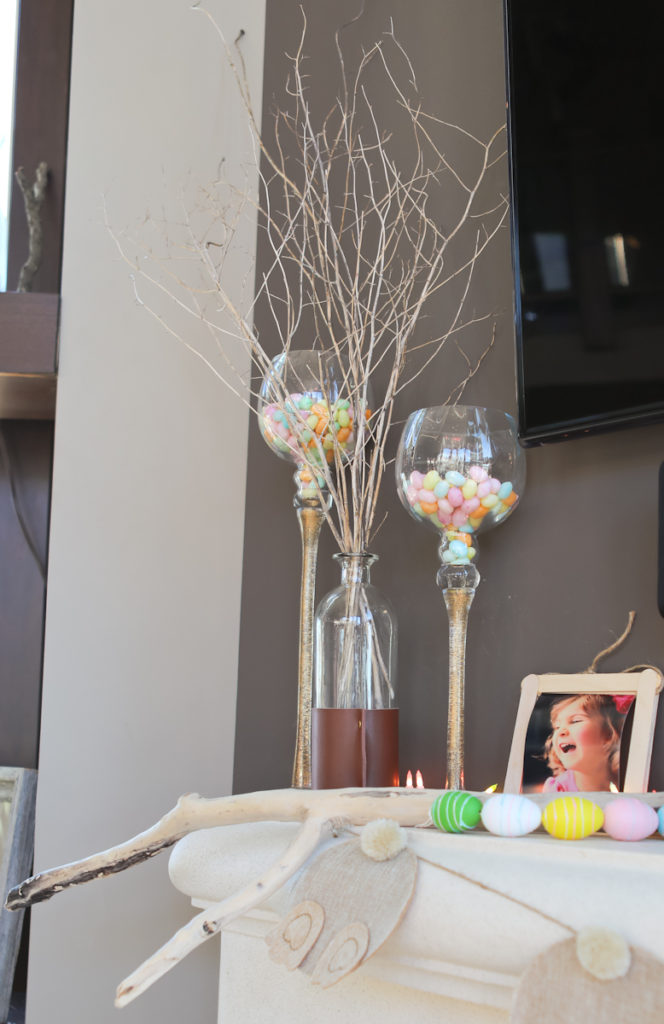
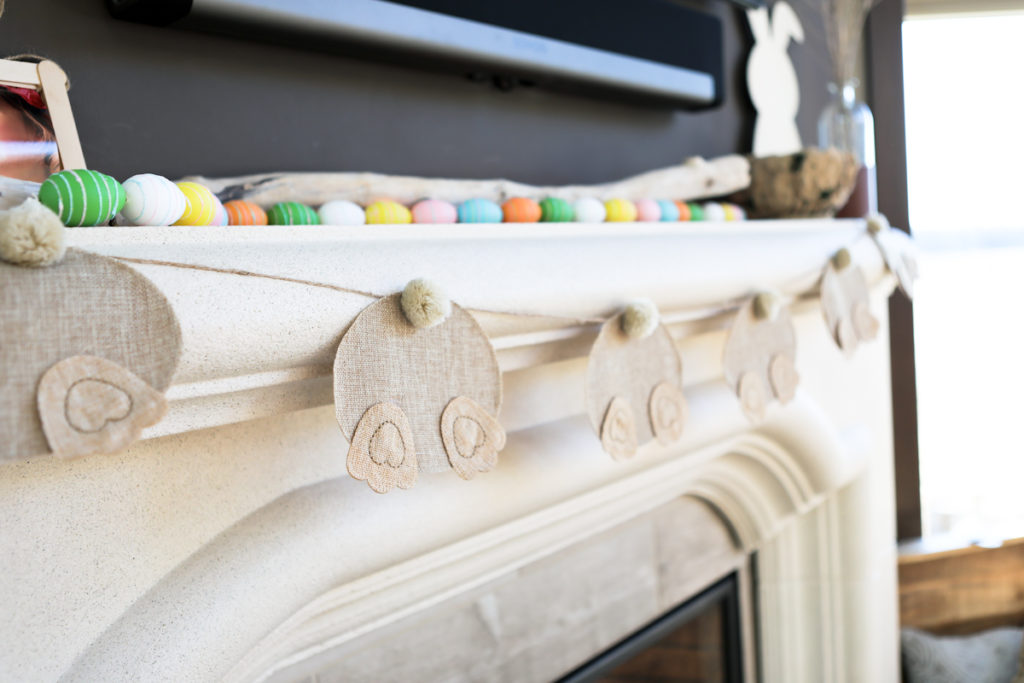
One of my other additions last year was this bunny butt garland. I LOVE this, and I completely forgot where I got this. So, if you are reading this, and you saw this somewhere, please feel free to leave a comment so I can share with everyone where they’d be able to find this. It’s just so adorable on the mantle! It adds a touch of whimsical for the kiddos, but yet the color keeps it looking mature as well.
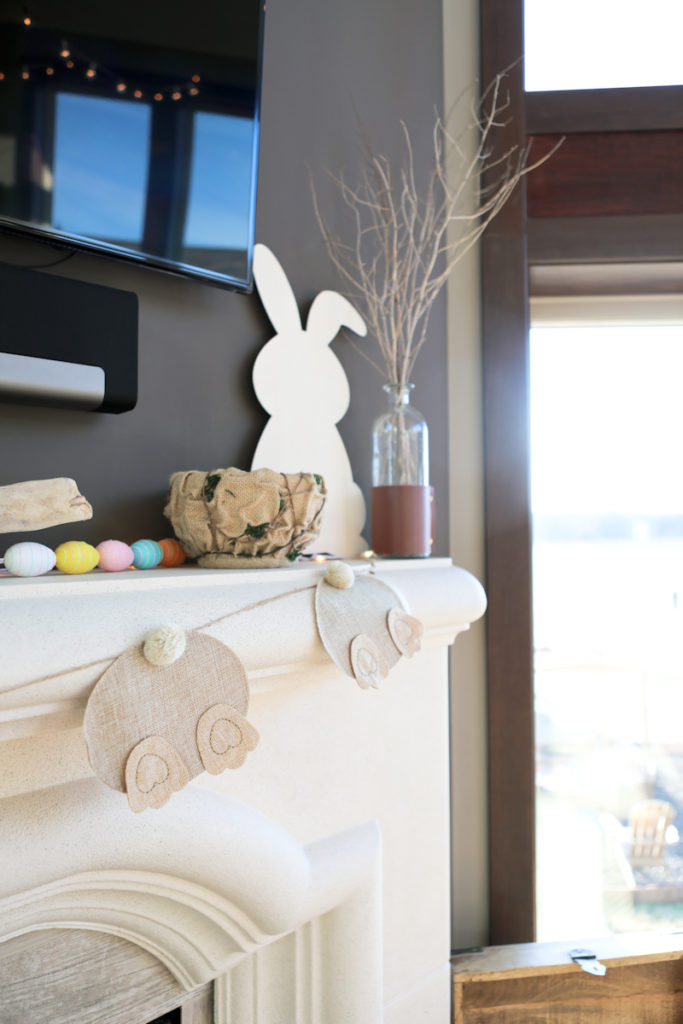
On the other end of the mantle, I have a birds nest that I got at hobby lobby 3 years ago, a wood cut out bunny I got last year at Michaels for $5 and branches in a bottle I use year to year, season to season. Super simple, affordable and adorable!
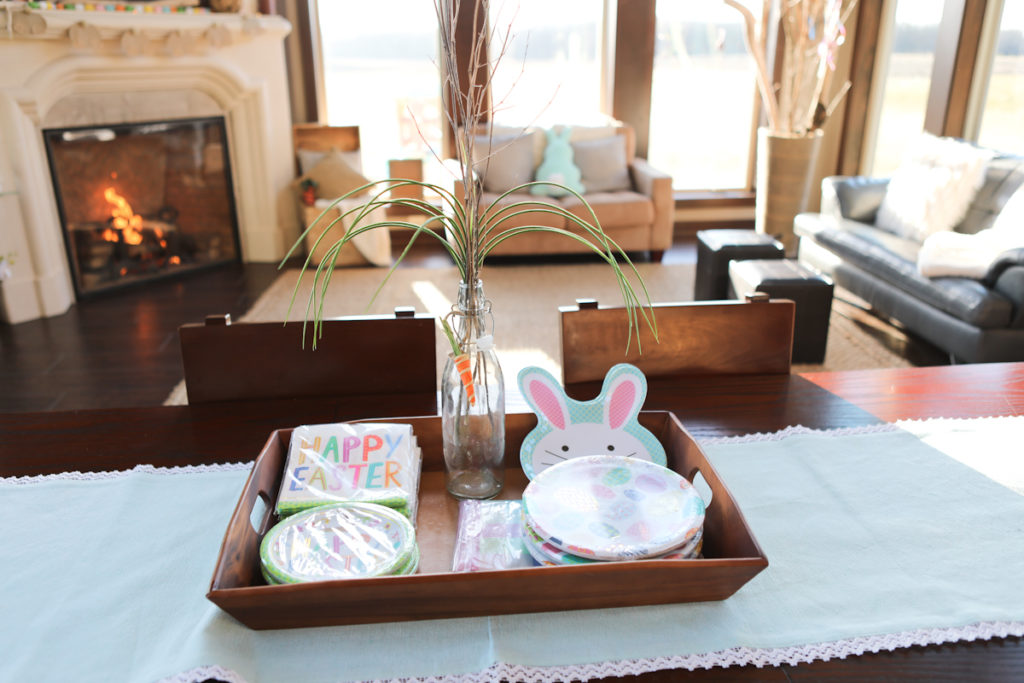
On my kitchen table, I always switch it up. This is the most simple I have ever done my table. The reason is because my little kiddos are at an age where we use the table all day long. From eating to crafts to playing. I need the table to be easily accessible in this stage of my life. What easier and inexpensive way to decorate it, than with the stuff you already need for Easter day. So I’m not buying anything extra to decorate, I’m decorating with the snack plates and napkins we will be using on Easter since I am hosting this beautiful holiday. I found my kiddos love playing with these packs of plates and napkins. I find them all over the house. Its humorous! This carrot on the bottle no longer exists, since I found it in a corner of the house chewed up. One of them may have thought it was a real carrot, so it is long gone!
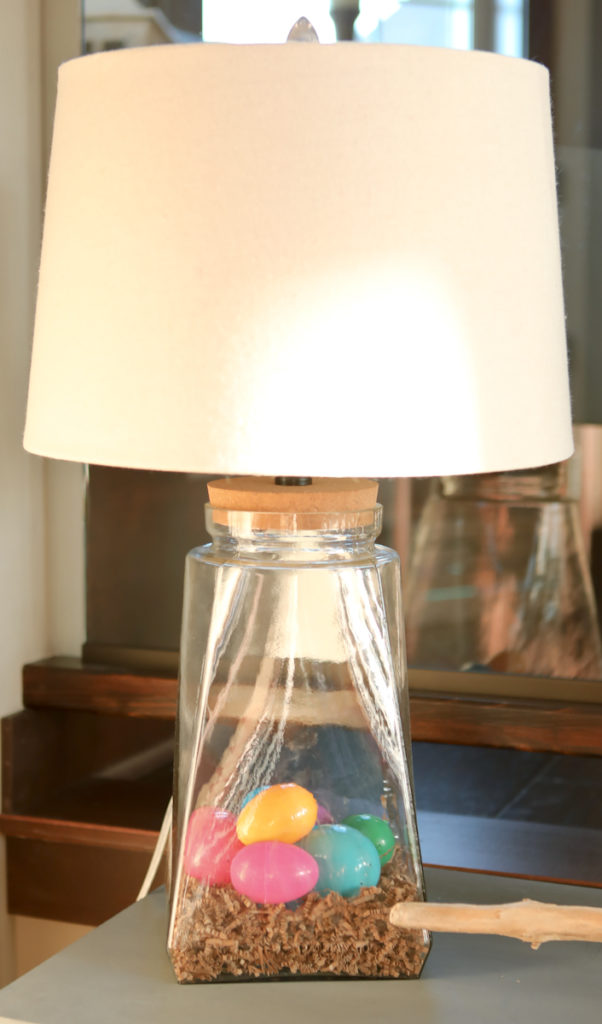
When I was in the market for a new lamp, I am so happy I decided on this one. I got it on Wayfair. I can’t remember the price of it because I got it 3 years ago. What i love about it is, you can switch it up for any season or just keep it empty. For summertime, I put beautiful white rocks we find down by the beach in here, and for winter I add pine cones. For Easter, I add cute colorful eggs to brighten up my foyer table.
We all love those decorating ideas we see in magazines, but we all know those looks come with a huge price tag. With these simple ideas I have shown you, decorating on a dime has never been easier and cuter. Now it’s time for you to go decorate for Spring and Easter! I hope you have a happy and blessed Easter!
If you like this article, feel free to subscribe to CaseyLynnLawrence.com
