How to Create a Custom Cushion In Under 1 Hour
There may be that one spot in your house that would be a lot cozier if there was some type of cushion. It looks like it would take you forever to find a cushion to fit that spot. Who has the time to do that, and who knows if you may ever find the perfect cushion. The other option would be buying a custom cushion, and that could cost a fortune! Your last option is, you can make your own custom cushion. That’s right. You! You can make your own custom cushion in under an hour! Let me show you how simple it can be done!
Step 1:Gather all of your supplies:
Wood, Fabric, Poly Foam, Scissors
, Hot Glue Gun
, Staple Gun
, Sharpie Marker
,(Make sure the wood is cut to the size you need before starting. When Measuring, minus 1/8″ on each side of the wood. This will allow room for when the fabric is tugged and the poly foam gets wrapped over the edge a bit.)
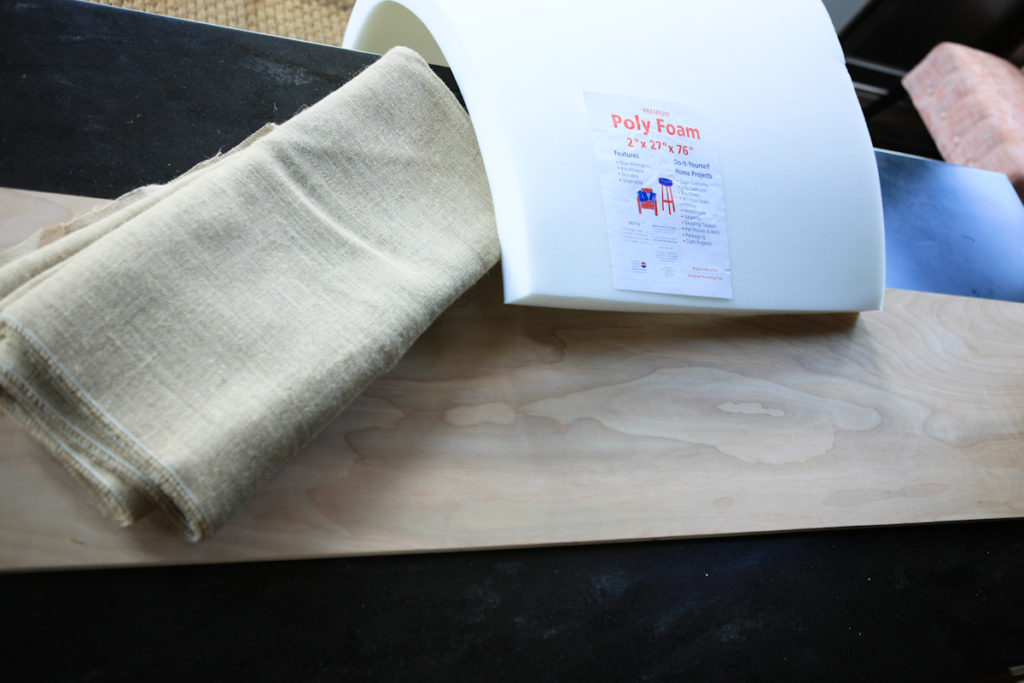
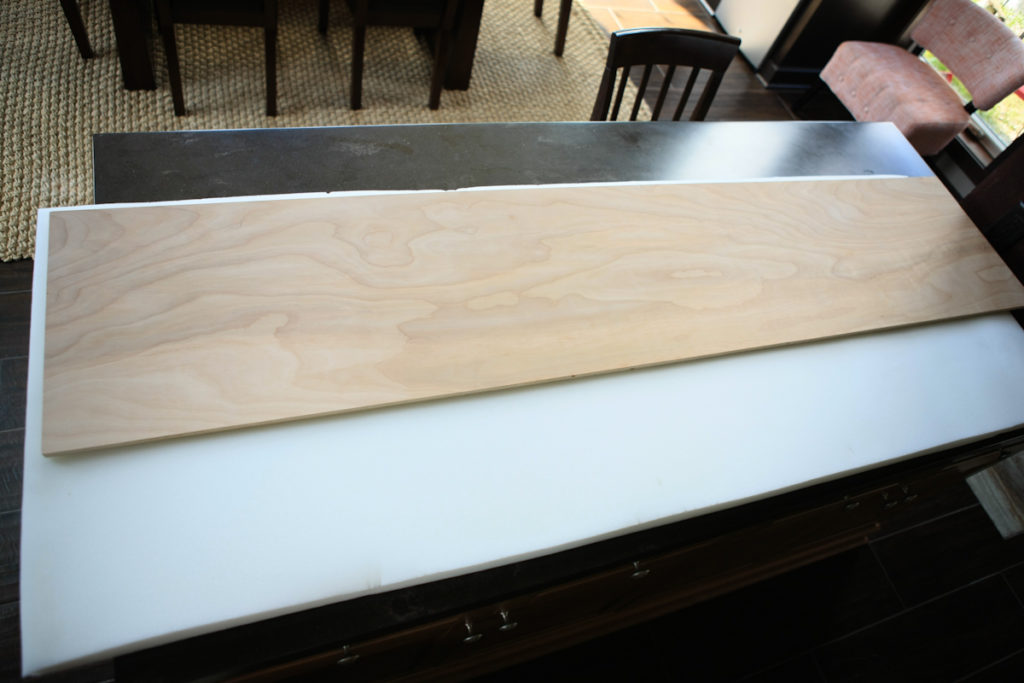
Step 2: Lay Poly Foam down, and lay the piece of wood on top. Allow the Poly Foam
to hang over 1″ on one side. (In later steps, you will center the wood so there is a 1/2″ over hang on each side.)
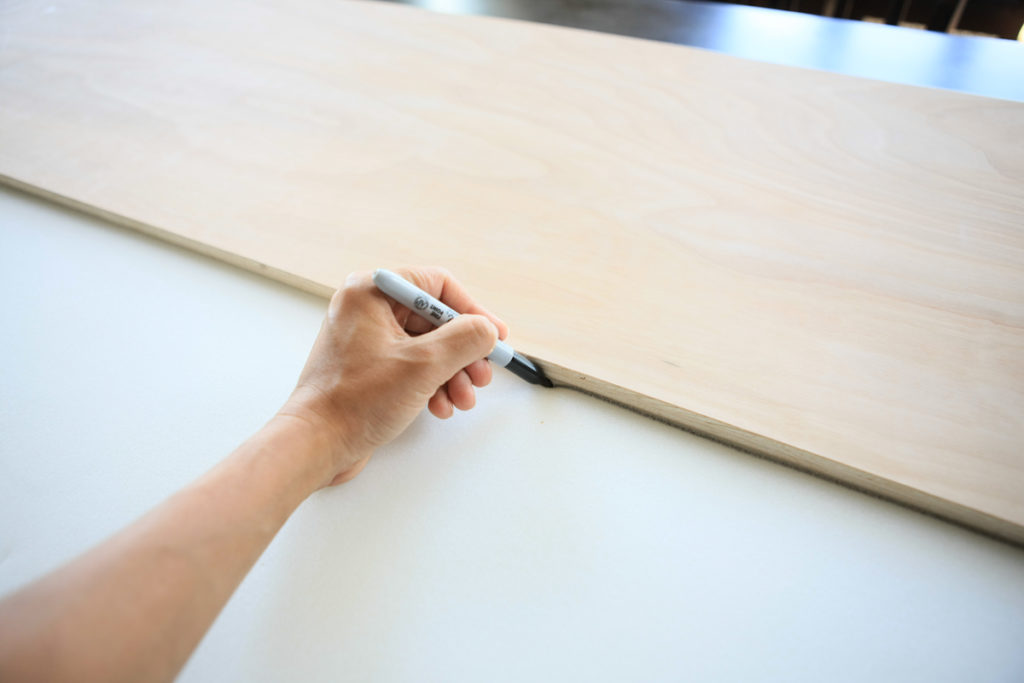
Step 3: Use a Sharpie Marker, and draw a line along the side of the wood so you know where to cut.
This is what it will look like when you are finished drawing the line, and remove the piece of wood.
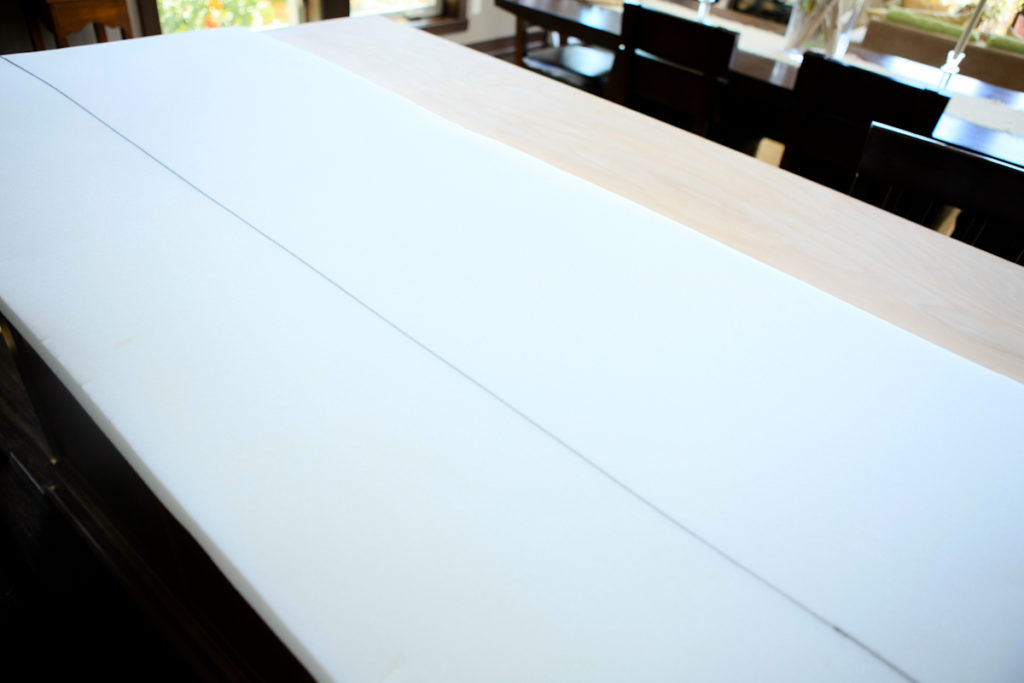
Step 4: Using your Scissors, cut along the line you just made with the Sharpie Marker.
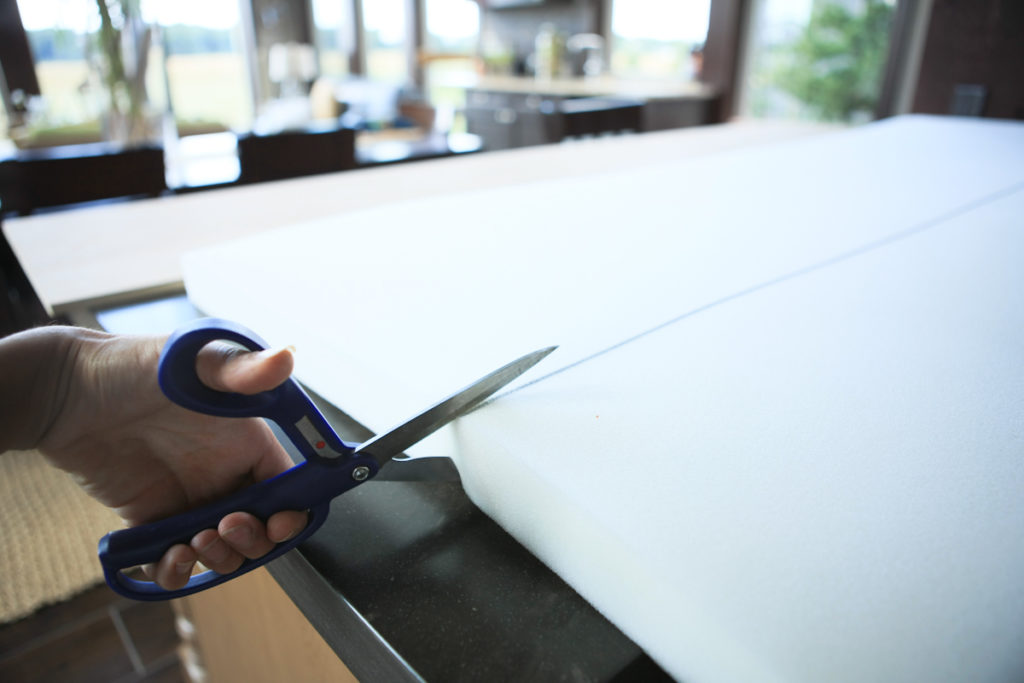
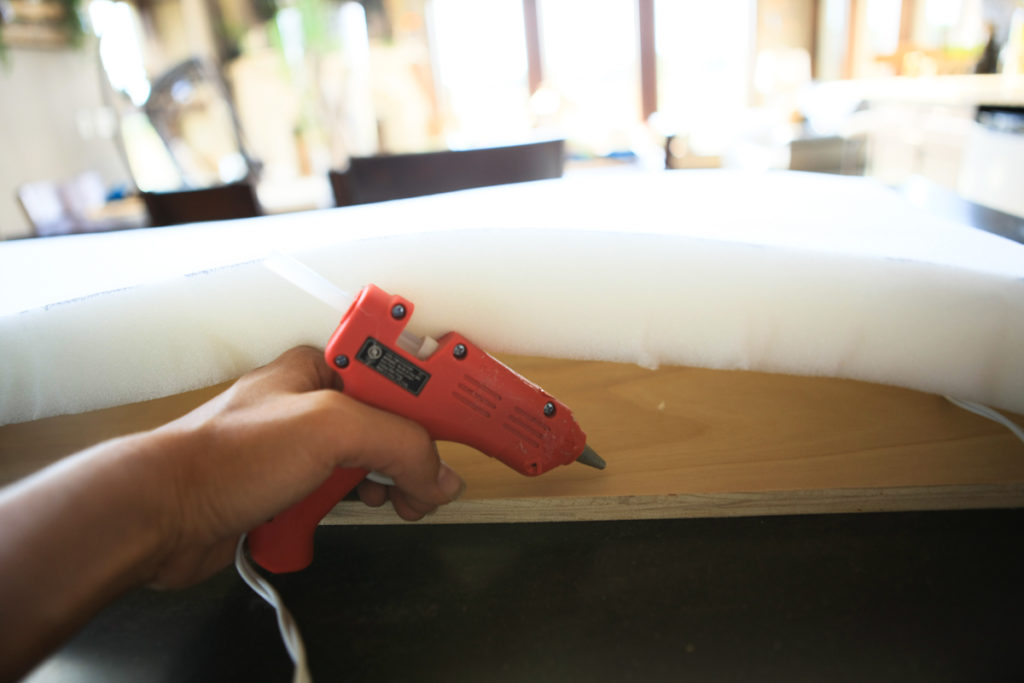
Step 5: Lay your cut poly foam on top of your piece of wood. Be sure to leave 1/2″ of Poly Foam over hang on each side of the wood. Then, use your Hot Glue Gun,
and glue it down. You don’t have to glue it all over the place. I just glue along the edges. This step is just a precaution so there isn’t any movement of the poly foam on the wood, in later steps.
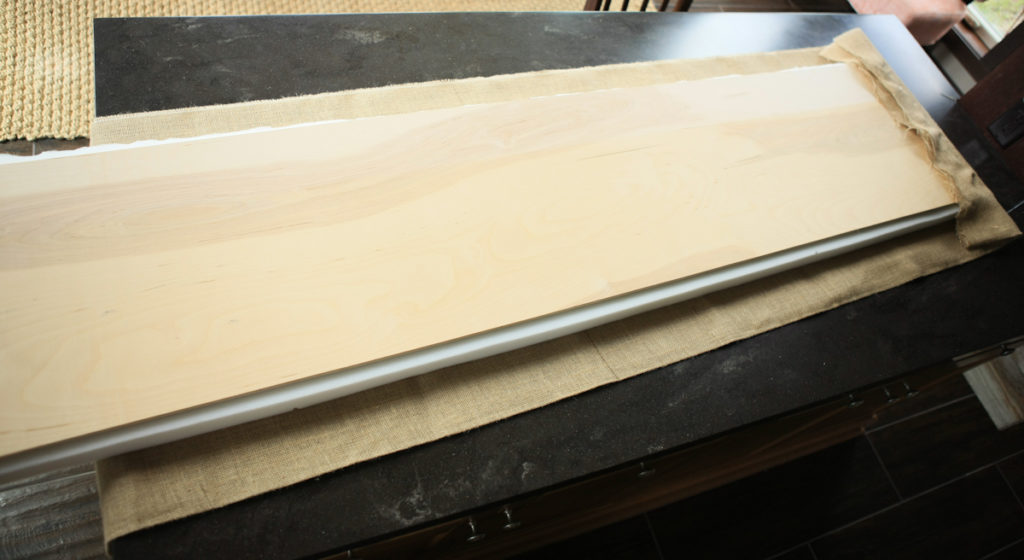
Step 6: Lay your fabric down, and place your cushion on top. Be sure to leave enough fabric on each side for folding over.
Step 7: Now we are ready to use our Staple Gun Start on the ends, and staple one end first. Then, go to the other end, tug real hard, fold over and staple.
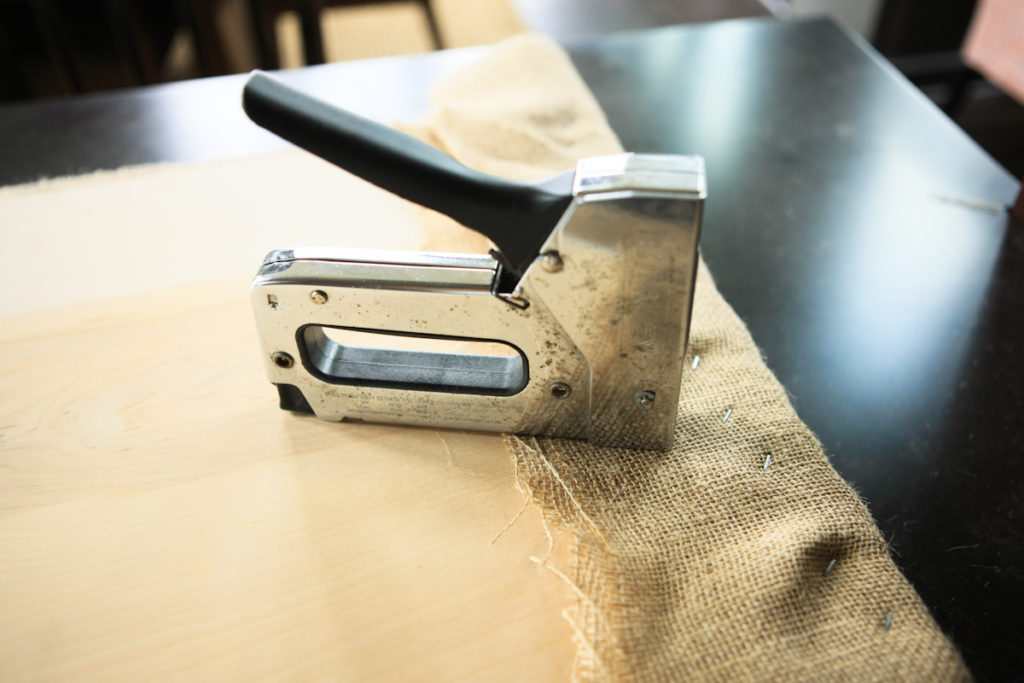
This is what it should look like when you have stapled the ends down.
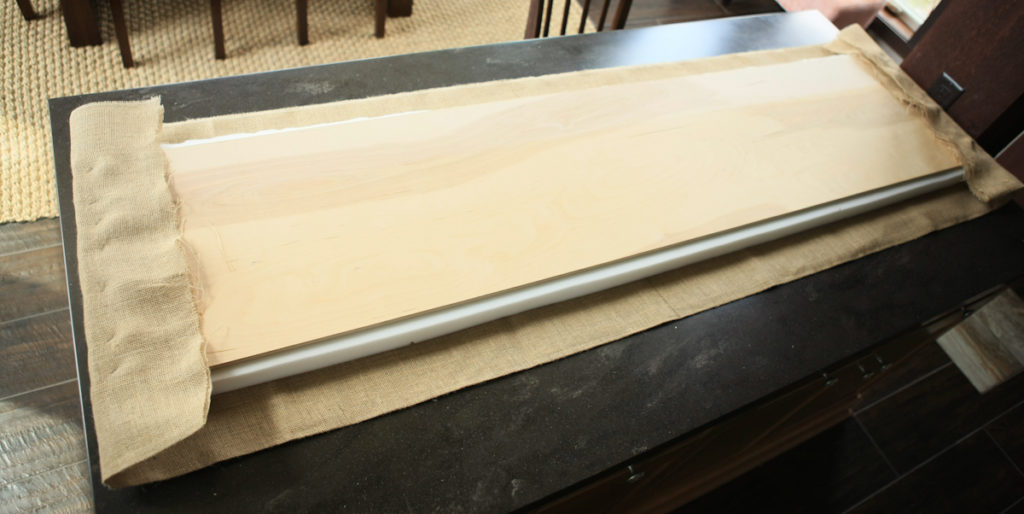
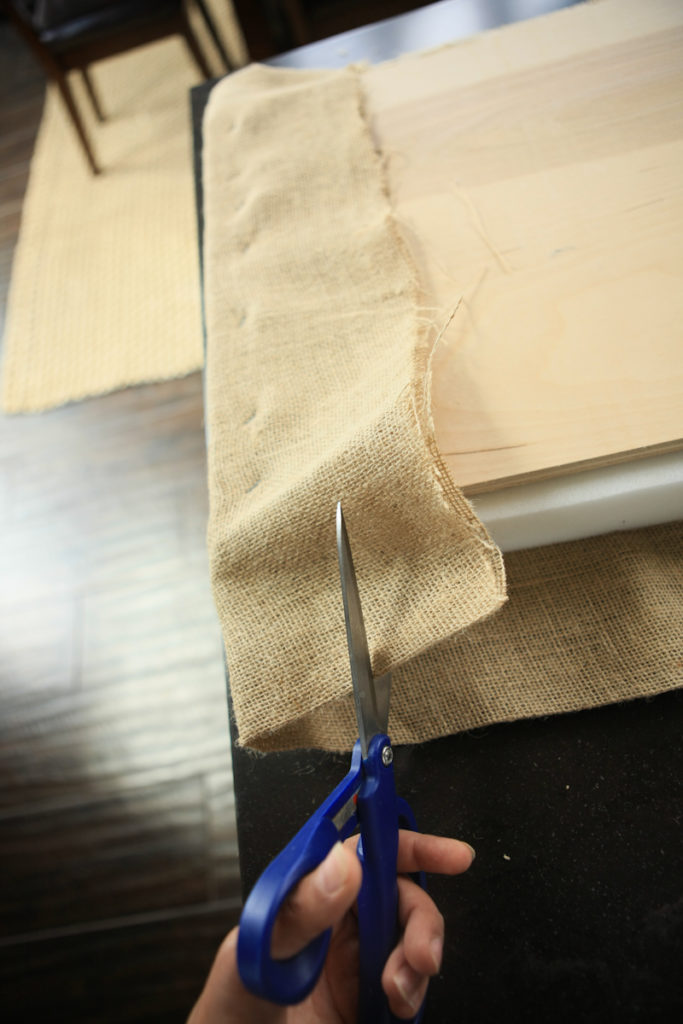
Step 8: Using your Scissors, cut excess fabric off of the ends. Leave 2 inches past the staples, of extra fabric.
Step 9: Start with one corner and fold it like a present. Then staple. On that same end, do the other corner. From there, tug the fabric and staple, working your way down.
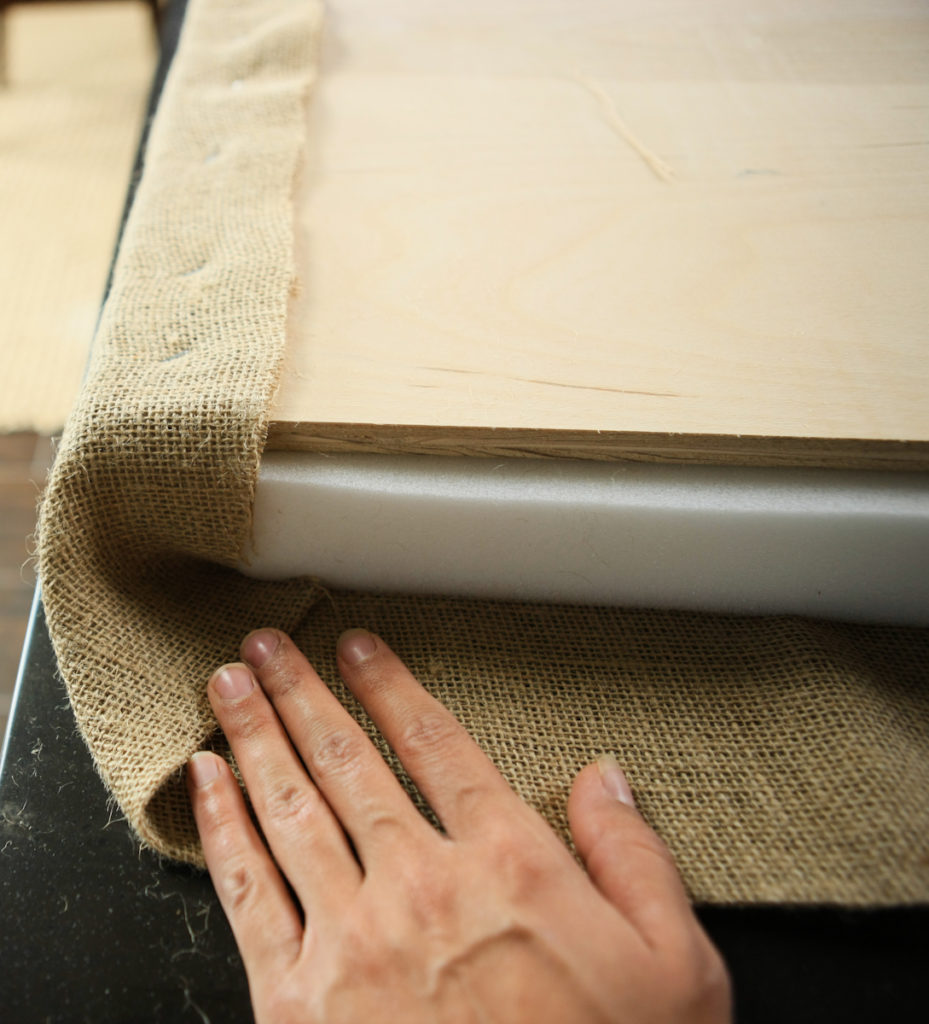
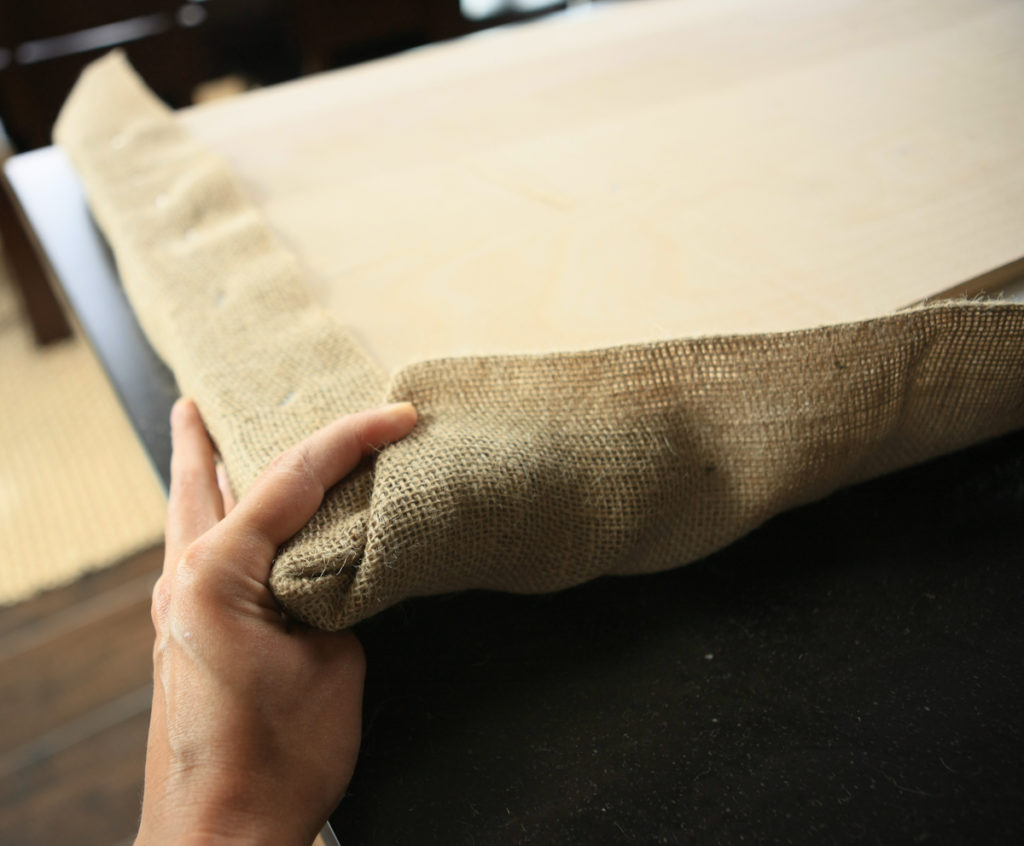
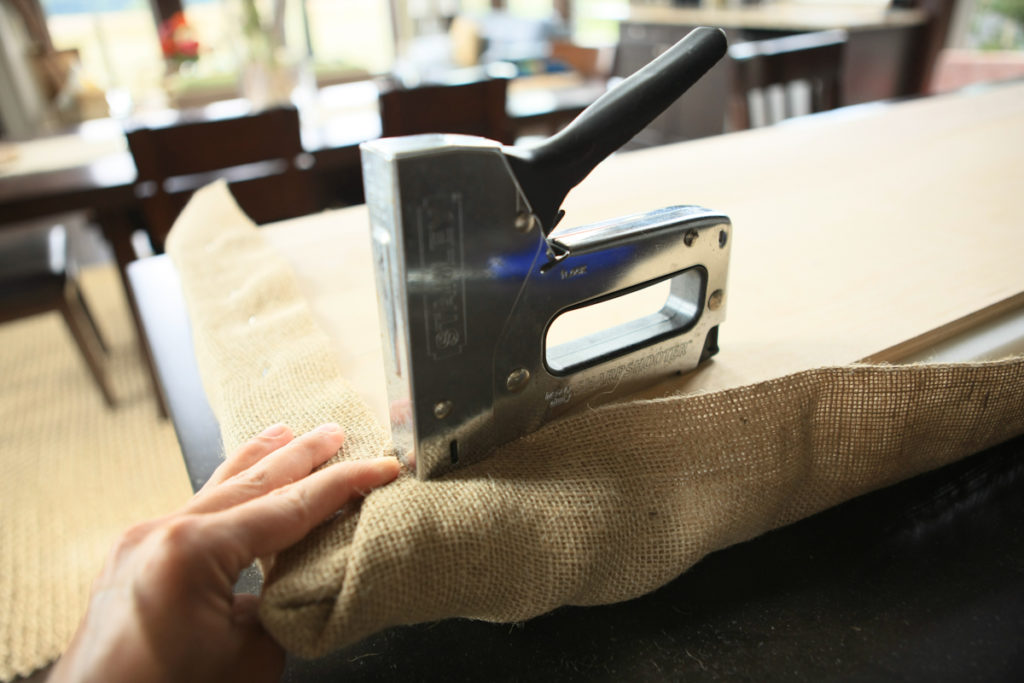
Step 10: Work your way down the cushion by tugging the fabric, and then stapling. Be sure to tug hard enough so the poly foam actually covers the side of the wood. This is what it should look like.
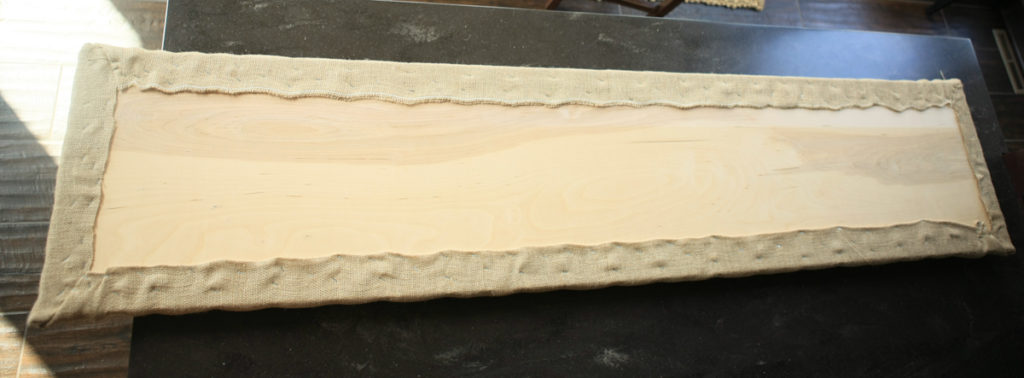
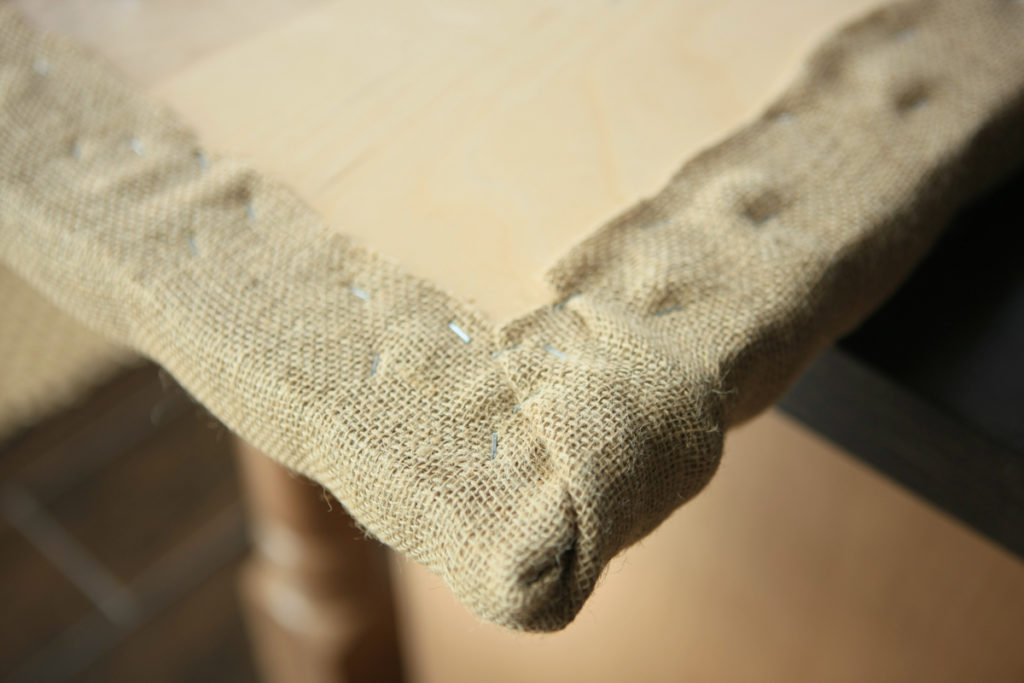
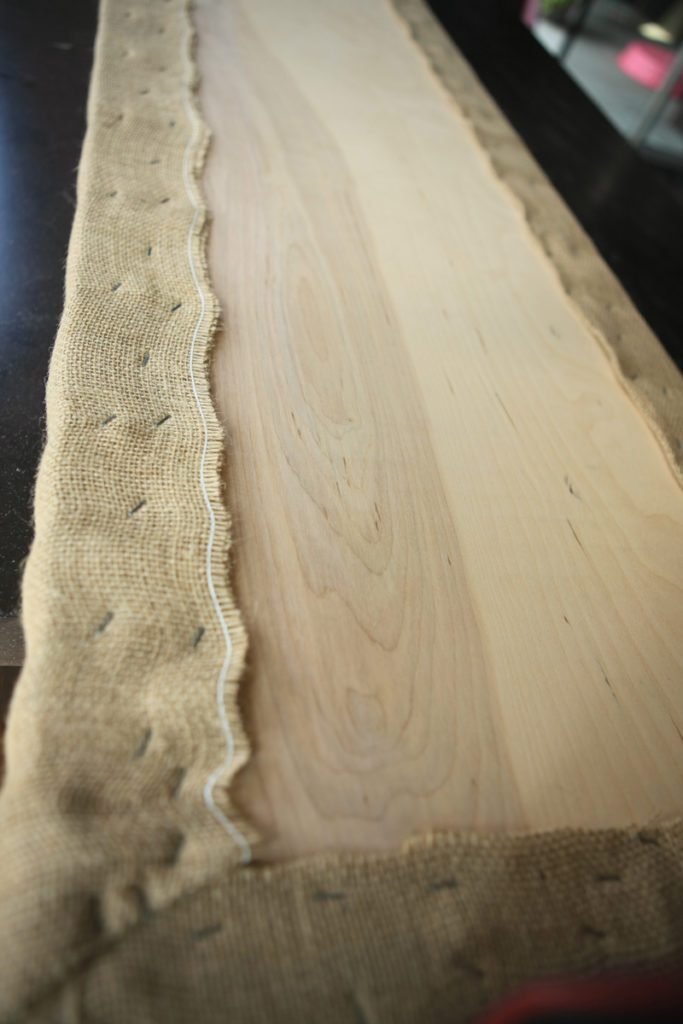
This is what it should look like once you turn it over!
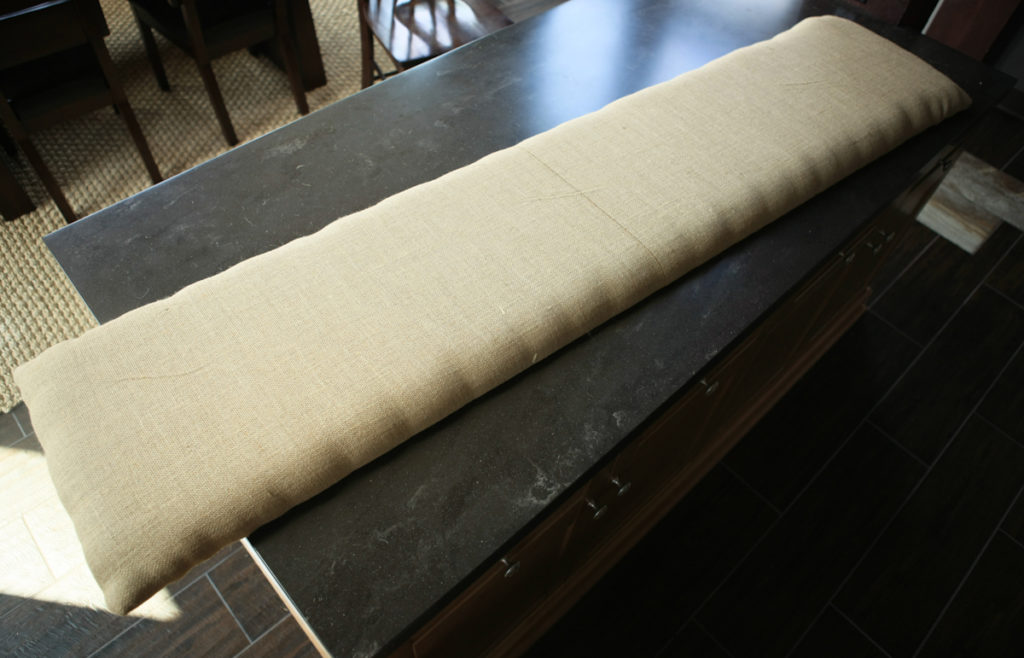
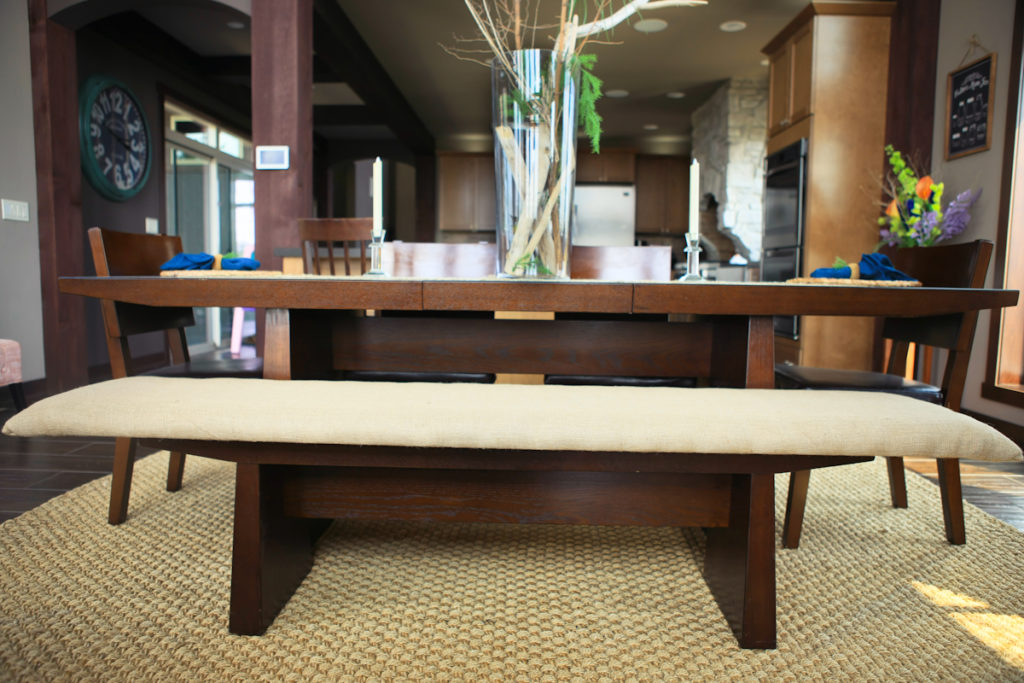
Now you can enjoy your own cozy custom cushion!
Thank you so much for visiting caseylynnlawrence.com! If you enjoyed this article, please feel free to subscribe and receive the latest article every 1-2 weeks!


